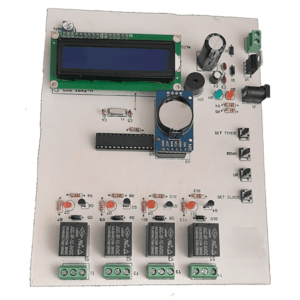
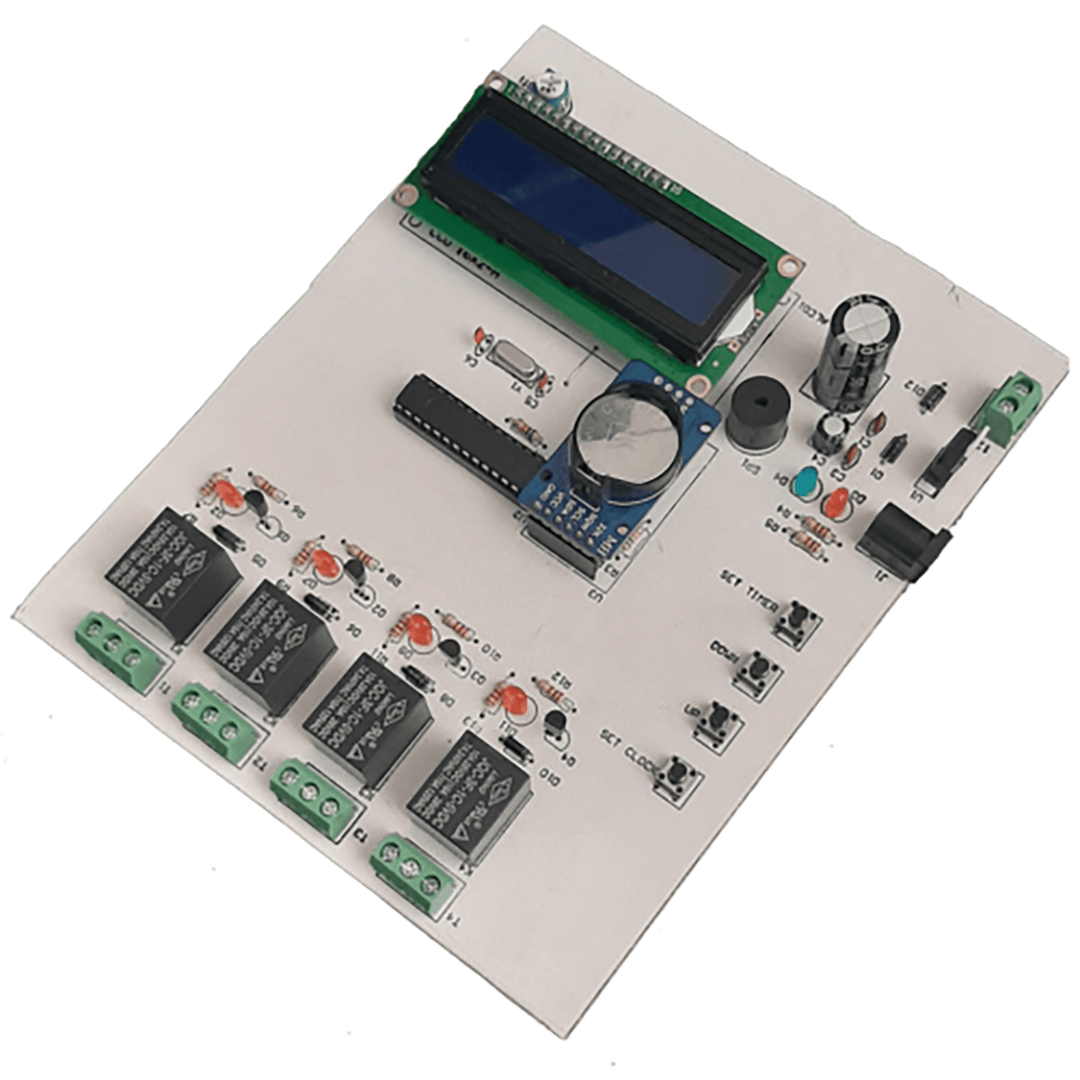
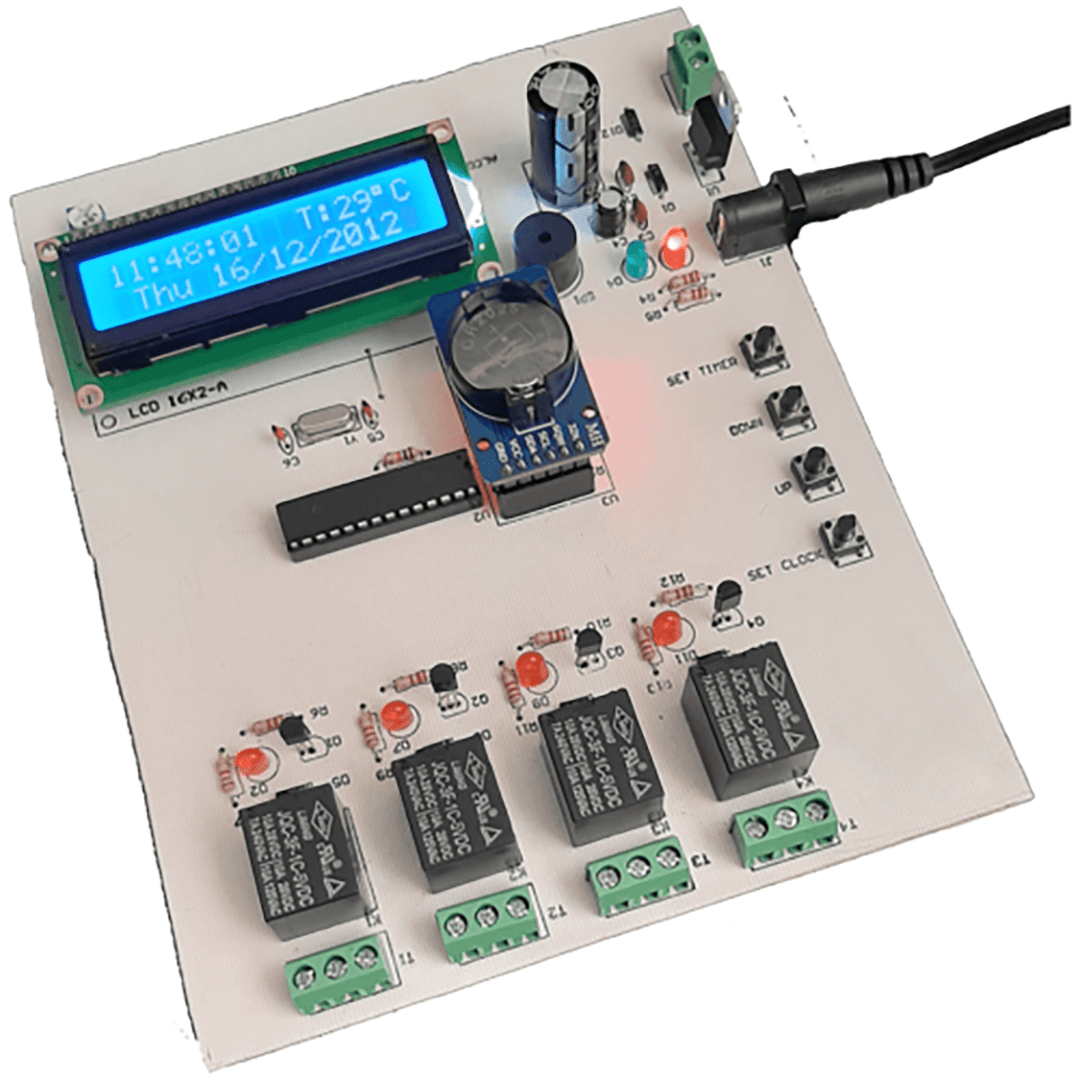
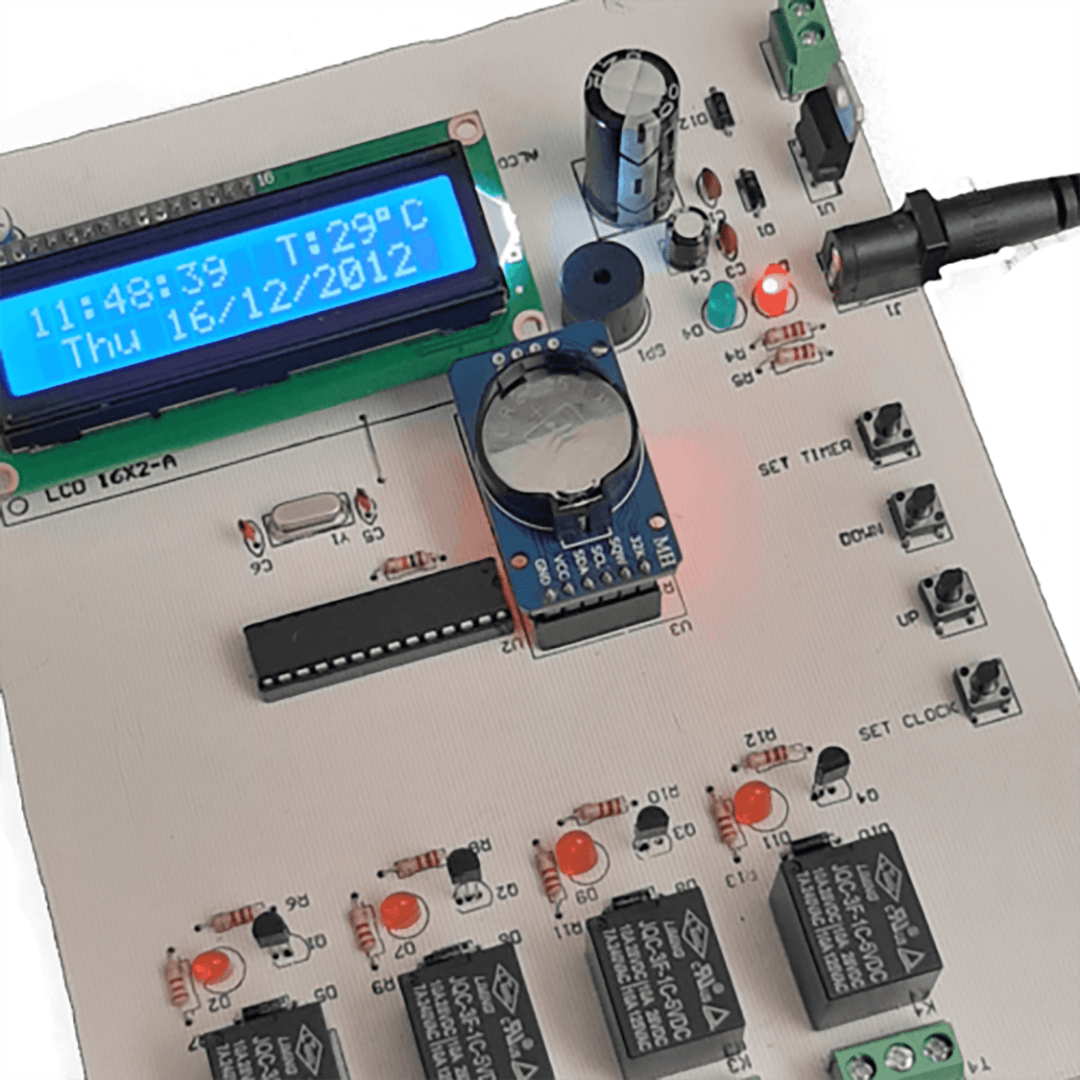
Arduino Relay Timer Control Clock Project This project displays the time, temperature, date, and day on an LCD. The main function of this project is to control the timing of a relay after displaying the clock, date, and other information.
We can schedule the timing for the four relays present in the project. We can activate and deactivate the relays at specific times. For example, we can set the first relay to activate at 3 o’clock and deactivate at 4 o’clock. The same principle applies to the other relays.
How to Use the Arduino Relay Timer Control Clock Project
After completing the construction of the clock project, the first thing you need to do is to place a coin cell battery on the DS3231 module, which is the clock module. If you don’t do this, when you set the clock and the power is disconnected and reconnected, you will have to set the clock again. Make sure to place a coin cell battery or backup battery on the module.
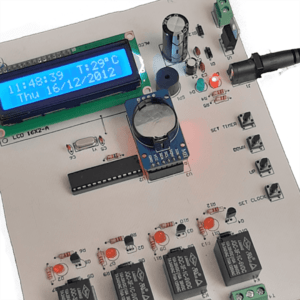
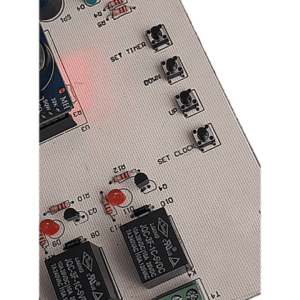
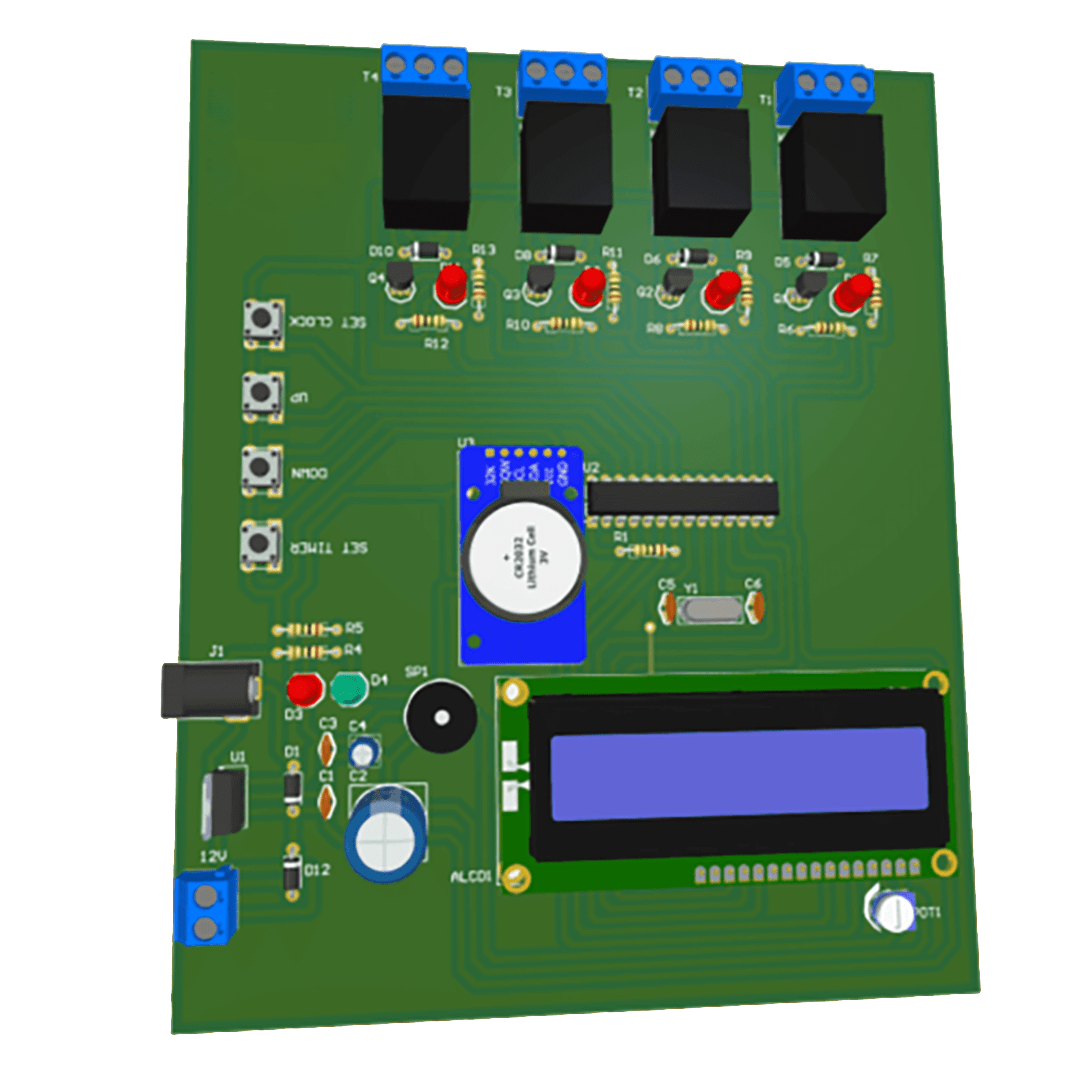
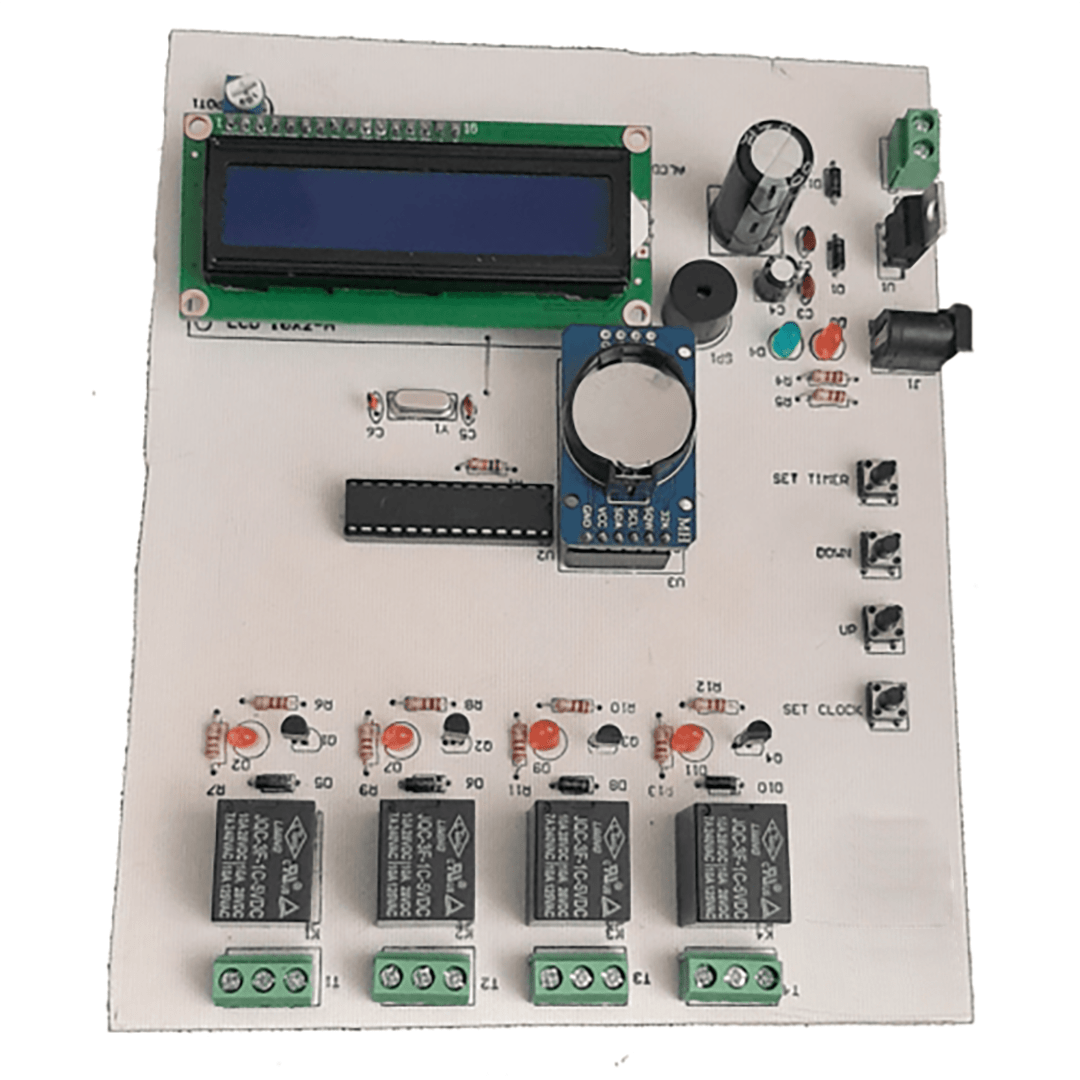
Setting the clock and timers for the relays is also straightforward. In our project, we have four microswitches. With the microswitch associated with ‘Set Timer,’ we can adjust the relay timer. Using the ‘Down’ and ‘Up’ switches, we can navigate between upper and lower values. With the microswitch associated with ‘Set Clock,’ we can set the clock, date, and day.
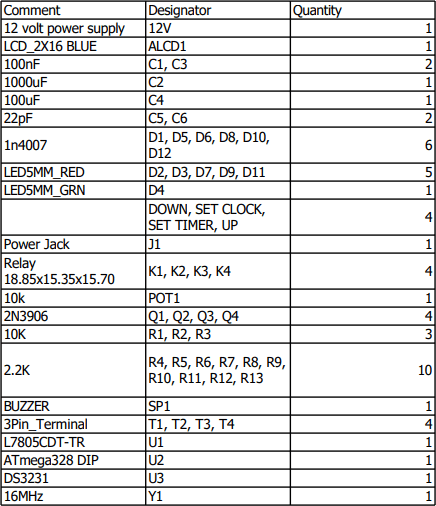
List of components used
This project has:
3 months guaranteed support through ticket system
Money back guarantee in case of dissatisfaction ( according to the rules )
Free update
If you have any questions about Project, please ask in the comments section.


Comments (0)
Reviews
There are no reviews yet.