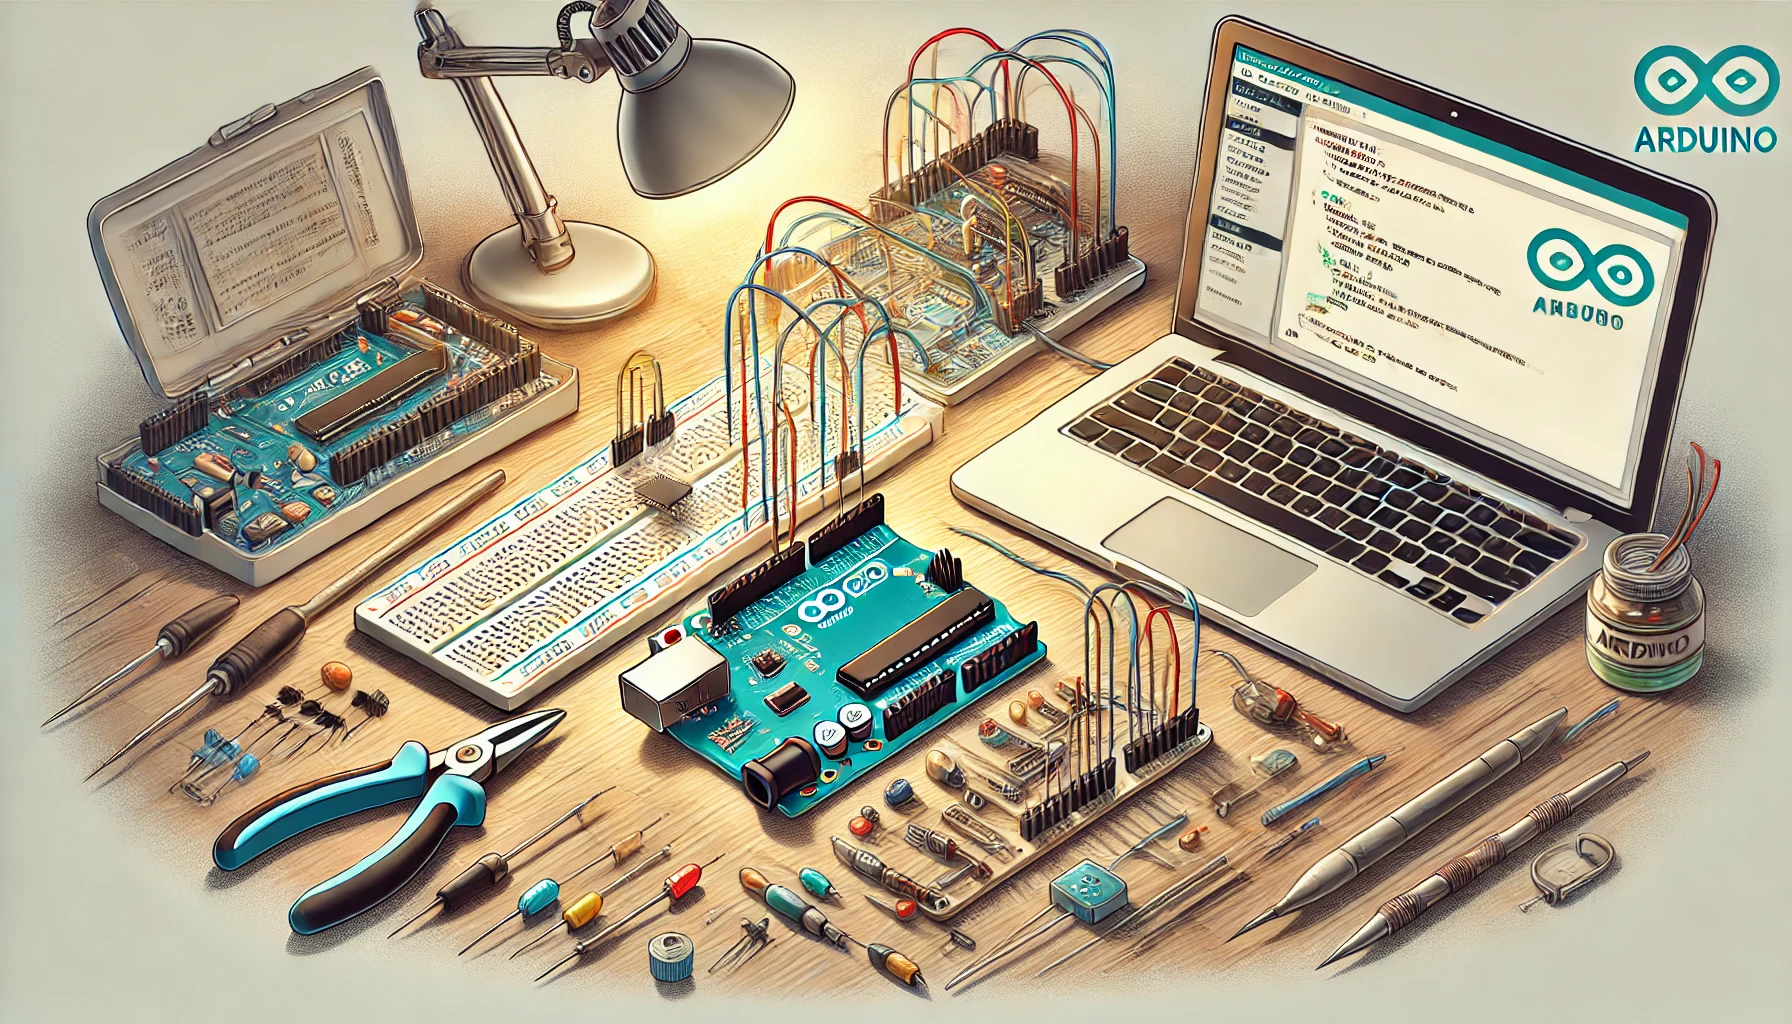
How to Build an LED Blinking System with AVR Microcontroller , Creating an LED blinking system is one of the simplest yet most educational projects for understanding the workings of microcontrollers like AVR. This guide will walk you through every detail, ensuring you not only complete the project but also grasp the core concepts. Let’s dive into the process step-by-step.
1. What is an AVR Microcontroller?
The AVR series of microcontrollers, developed by Atmel (now Microchip), are popular for their simplicity, affordability, and effectiveness. They are 8-bit RISC (Reduced Instruction Set Computing) microcontrollers designed for various embedded applications. Some common AVR microcontrollers include:
- ATmega328: Found in Arduino boards like the Uno.
- ATmega8: Often used for smaller projects.
For this project, we will focus on the ATmega328, but the steps apply to other AVR microcontrollers as well.
2. Why an LED Blinking Project?
The LED blinking project is like the “Hello World” of embedded systems. It teaches you:
- GPIO Control: How to configure pins for input and output.
- Timing: Introducing delays for controlled behavior.
- Programming Basics: Writing, compiling, and uploading code to a microcontroller.
3. Components and Tools
Required Components
- 1 x AVR Microcontroller (e.g., ATmega328)
- 1 x LED (any color)
- 1 x Resistor (220Ω)
- Breadboard
- Jumper Wires
- 5V Power Source (USB or battery)
- AVR Programmer (USBasp or Arduino as ISP)
Software
- Atmel Studio or Arduino IDE
- AVRDUDE (if using command-line programming)
4. Setting Up the Circuit
Step 1: Power the Microcontroller
- Connect the VCC pin of the microcontroller to the positive power rail of the breadboard.
- Connect the GND pin to the ground rail.
- Use a decoupling capacitor (0.1 μF) between VCC and GND for stability.
Step 2: Connect the LED
- Place the LED on the breadboard. Connect the longer leg (anode) to a GPIO pin (e.g., PD0 on ATmega328).
- Attach the shorter leg (cathode) to one side of a 220Ω resistor.
- Connect the other side of the resistor to GND.
Step 3: Optional Clock Circuit
For better timing accuracy:
- Place an external crystal oscillator (e.g., 16 MHz) between XTAL1 and XTAL2 pins.
- Add two 22 pF capacitors from these pins to GND.
Final Circuit Diagram
- Pinout Example: The ATmega328 has multiple GPIO pins. We’ll use PD0 for simplicity.
5. Writing the Code
Step 1: Code Explanation
To make the LED blink, the GPIO pin connected to the LED alternates between HIGH (5V) and LOW (0V). The code introduces delays to make the blinking visible.
Example Code in C (Using Atmel Studio)
#include <avr/io.h>
#include <util/delay.h>

#define LED_PIN PD0  // Define LED pin

int main(void) {
    // Set PD0 as output
    DDRD |= (1 << LED_PIN);

    while (1) {
        // Turn LED on
        PORTD |= (1 << LED_PIN);
        _delay_ms(1000);  // Wait 1 second

        // Turn LED off
        PORTD &= ~(1 << LED_PIN);
        _delay_ms(1000);  // Wait 1 second
    }

    return 0;
}
6. Uploading the Code
- Compile the Code:
- Use Atmel Studio or Arduino IDE to compile.
- Select the correct microcontroller model in the project settings.
- Burn the Code:
- Connect the AVR programmer to the microcontroller.
- Use AVRDUDE or the IDE’s built-in tool to upload the code.
- Example command for AVRDUDE:
avrdude -c usbasp -p m328p -U flash:w:LED_Blink.hex7. Testing the Project
Once the code is uploaded:
- Power the microcontroller.
- Observe the LED blinking at 1-second intervals.
Common Issues
- LED not blinking:
- Check connections.
- Verify GPIO configuration in code.
- Microcontroller not responding:
- Confirm proper fuse settings for the clock source.
8. Advanced Examples
Example 1: Multiple LEDs
Control multiple LEDs on different pins:
#define LED1_PIN PD0
#define LED2_PIN PD1

int main(void) {
    DDRD |= (1 << LED1_PIN) | (1 << LED2_PIN);

    while (1) {
        PORTD |= (1 << LED1_PIN);
        PORTD &= ~(1 << LED2_PIN);
        _delay_ms(500);

        PORTD &= ~(1 << LED1_PIN);
        PORTD |= (1 << LED2_PIN);
        _delay_ms(500);
    }

    return 0;
}
Example 2: Adjustable Blinking Speed
Use a potentiometer to vary the delay:
#include <avr/io.h>
#include <util/delay.h>
#include <stdint.h>

#define LED_PIN PD0

int main(void) {
    DDRD |= (1 << LED_PIN);
    uint16_t delay_time = 100;  // Initial delay

    while (1) {
        PORTD ^= (1 << LED_PIN);  // Toggle LED
        _delay_ms(delay_time);
    }

    return 0;
}
9. Future Enhancements
- PWM for Brightness Control: Use timers to create a Pulse Width Modulation (PWM) signal for dimming the LED.
- IoT Integration: Control the LED via Wi-Fi using a module like ESP8266 or an IoT platform.
- Interactive Input: Add a button to toggle the LED state manually.
10. Real-World Applications
- LED blinking is foundational for:
- Home Automation: LED indicators for system status.
- IoT Devices: Visual feedback for connectivity.
- Robotics: Signal processing for movement or alerts.
Conclusion
By completing this project, you’ve taken a significant step into embedded systems. The skills learned—programming, circuit design, and troubleshooting—are transferable to more advanced projects. Keep experimenting, and soon you’ll be controlling complex systems with ease!
How to Build an LED Blinking System with AVR Microcontroller


Comments (0)