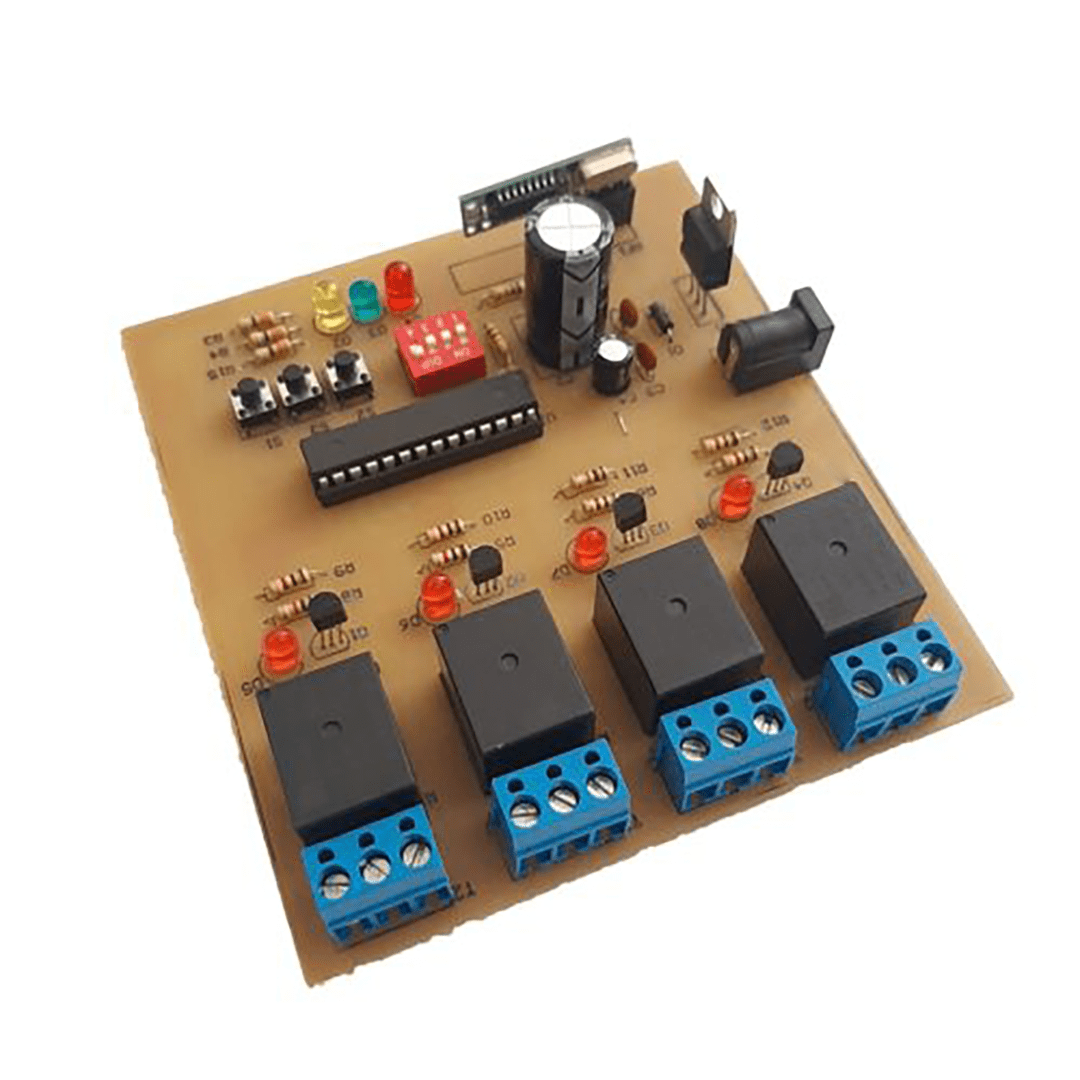
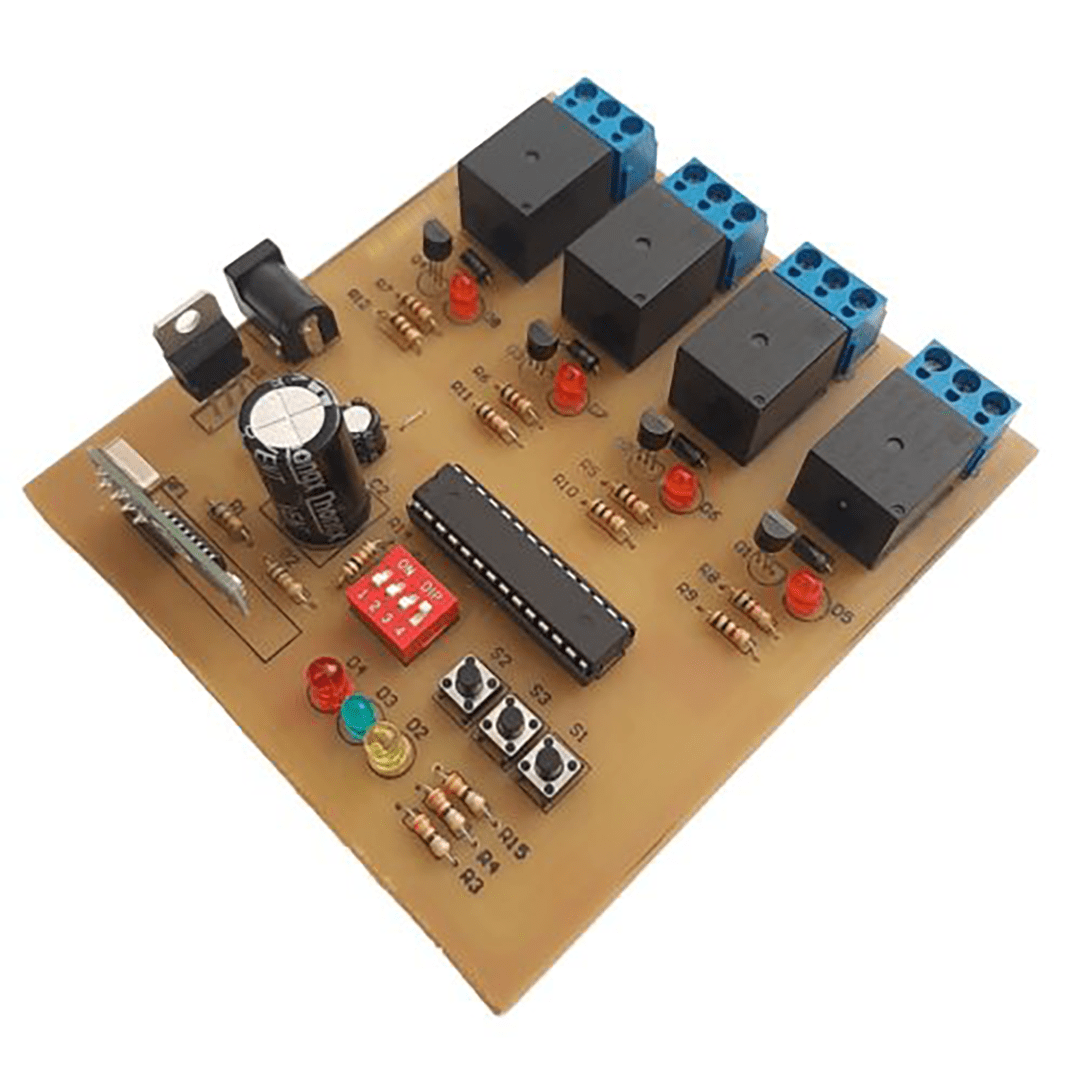
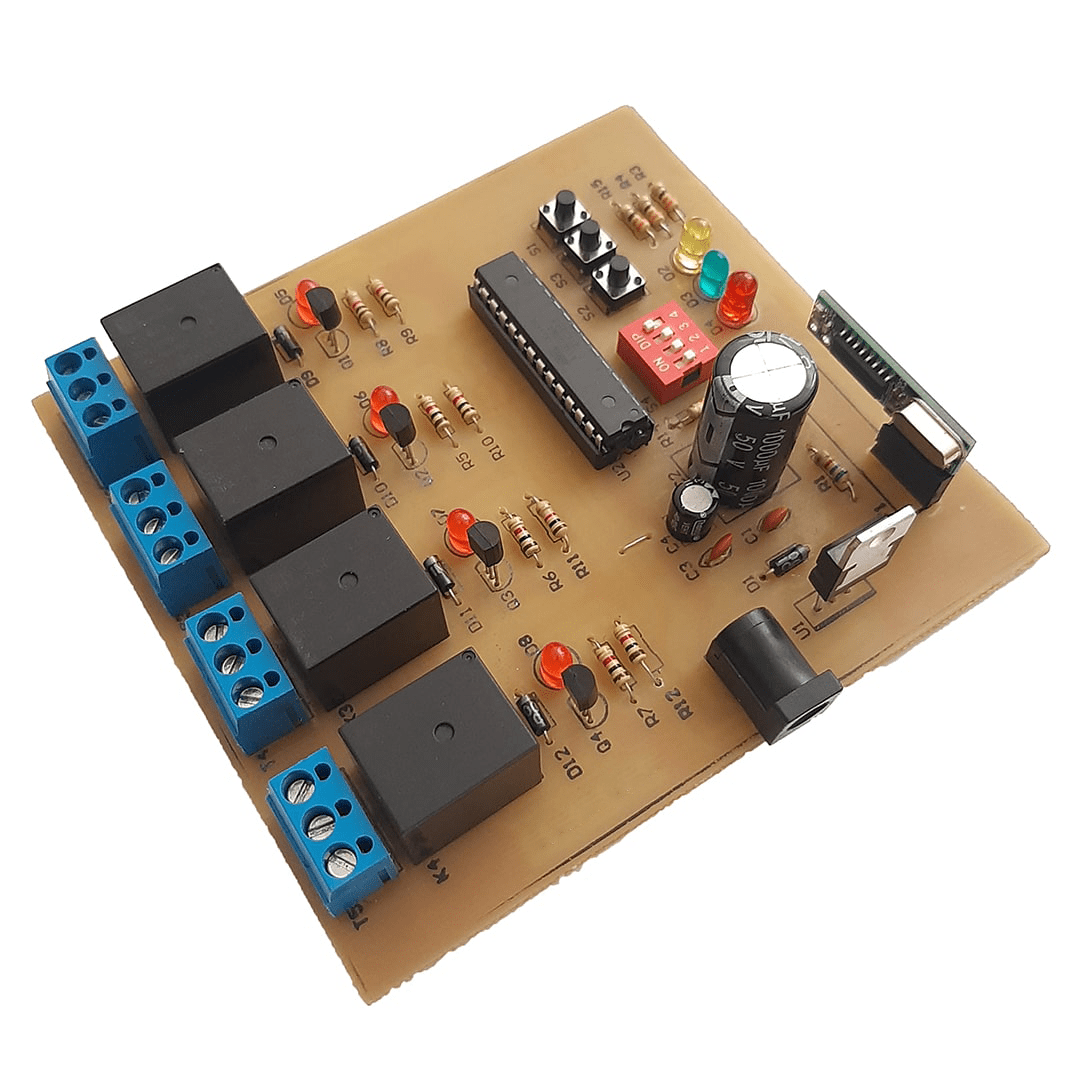
With this professional code learning remote control project, you can control electrical devices remotely, either permanently or momentarily. With the professional code learning remote control project, you can connect devices such as parking gates, building systems, lamps, etc., to the board’s outputs and control them using the remote control.
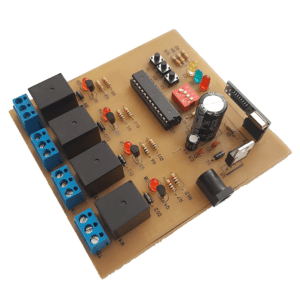
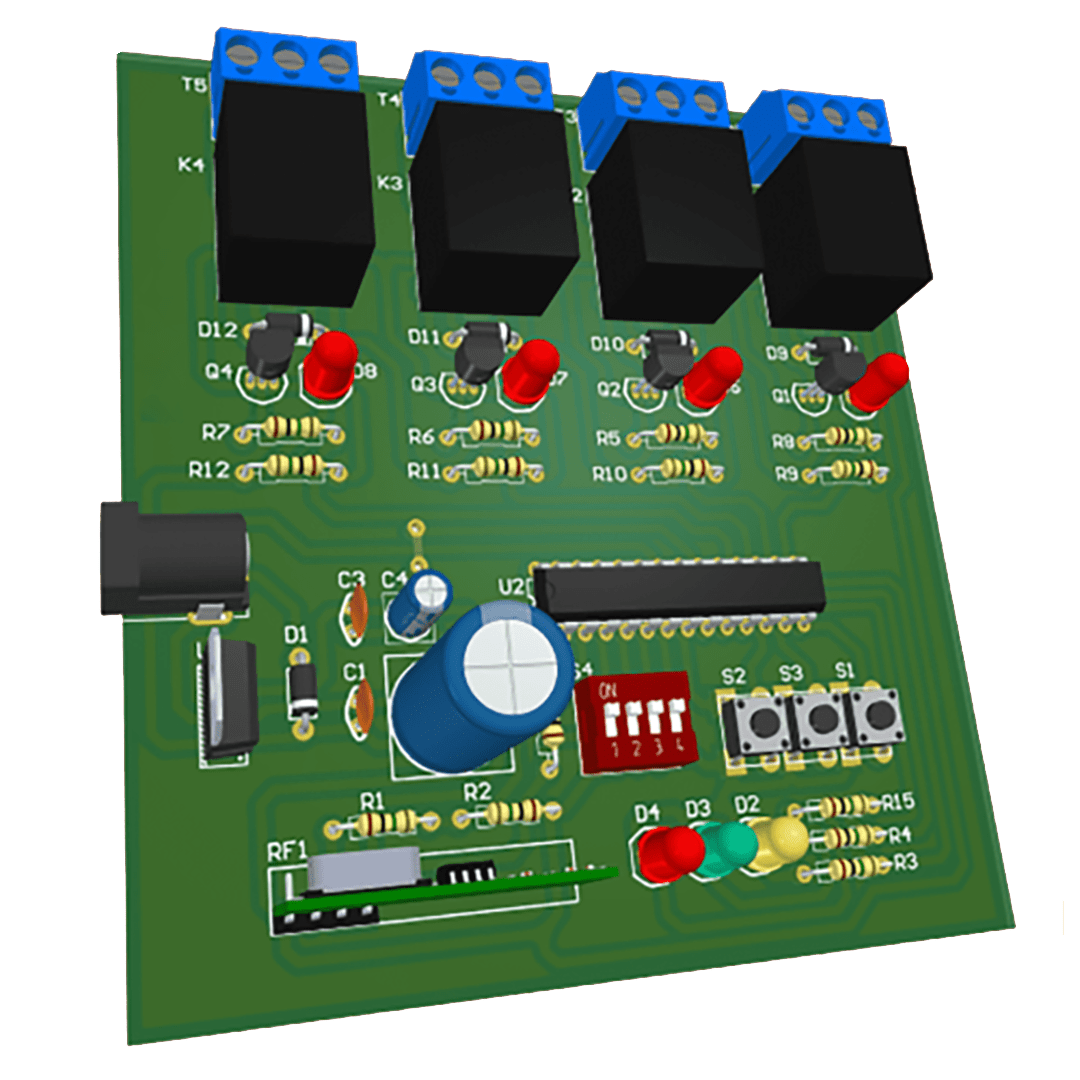
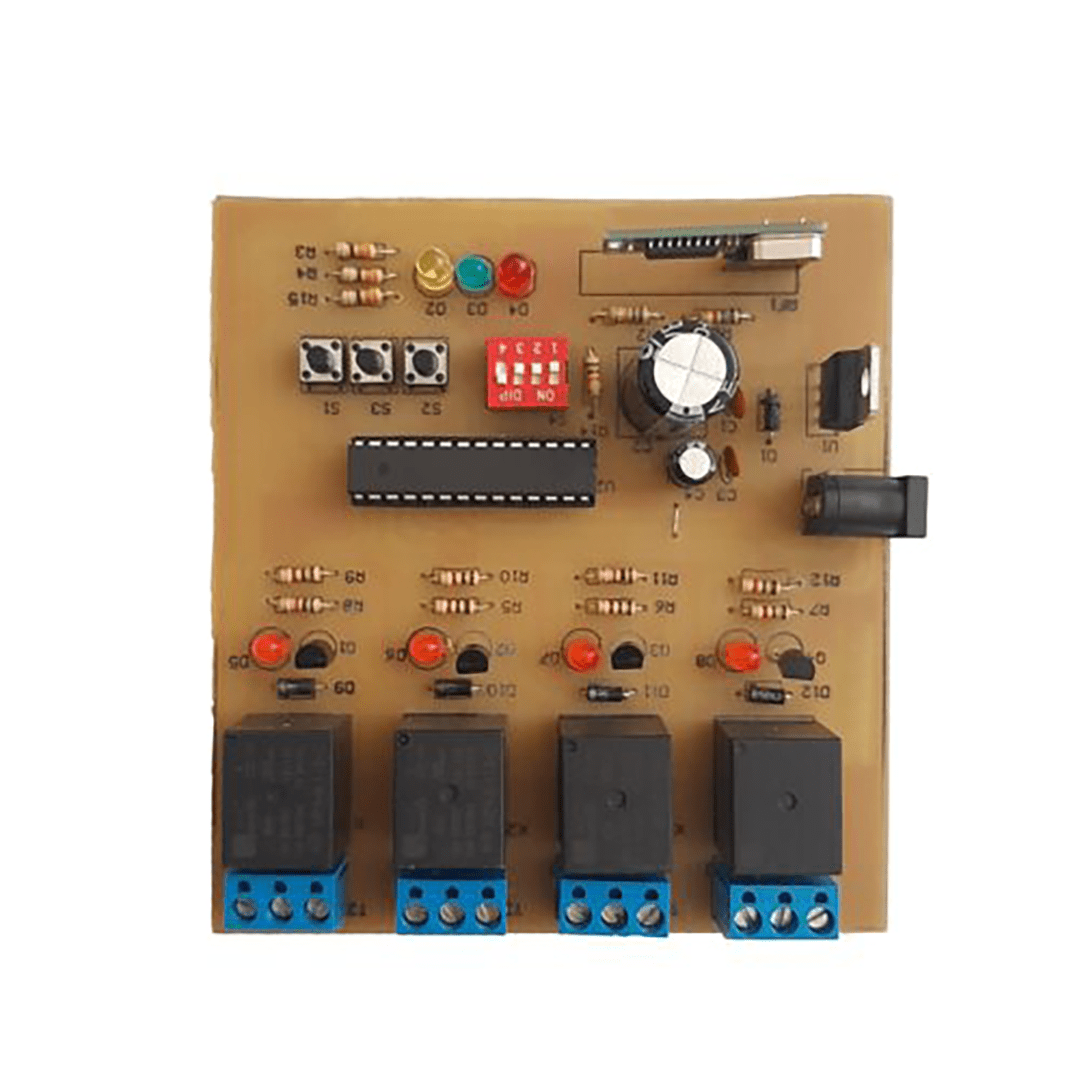
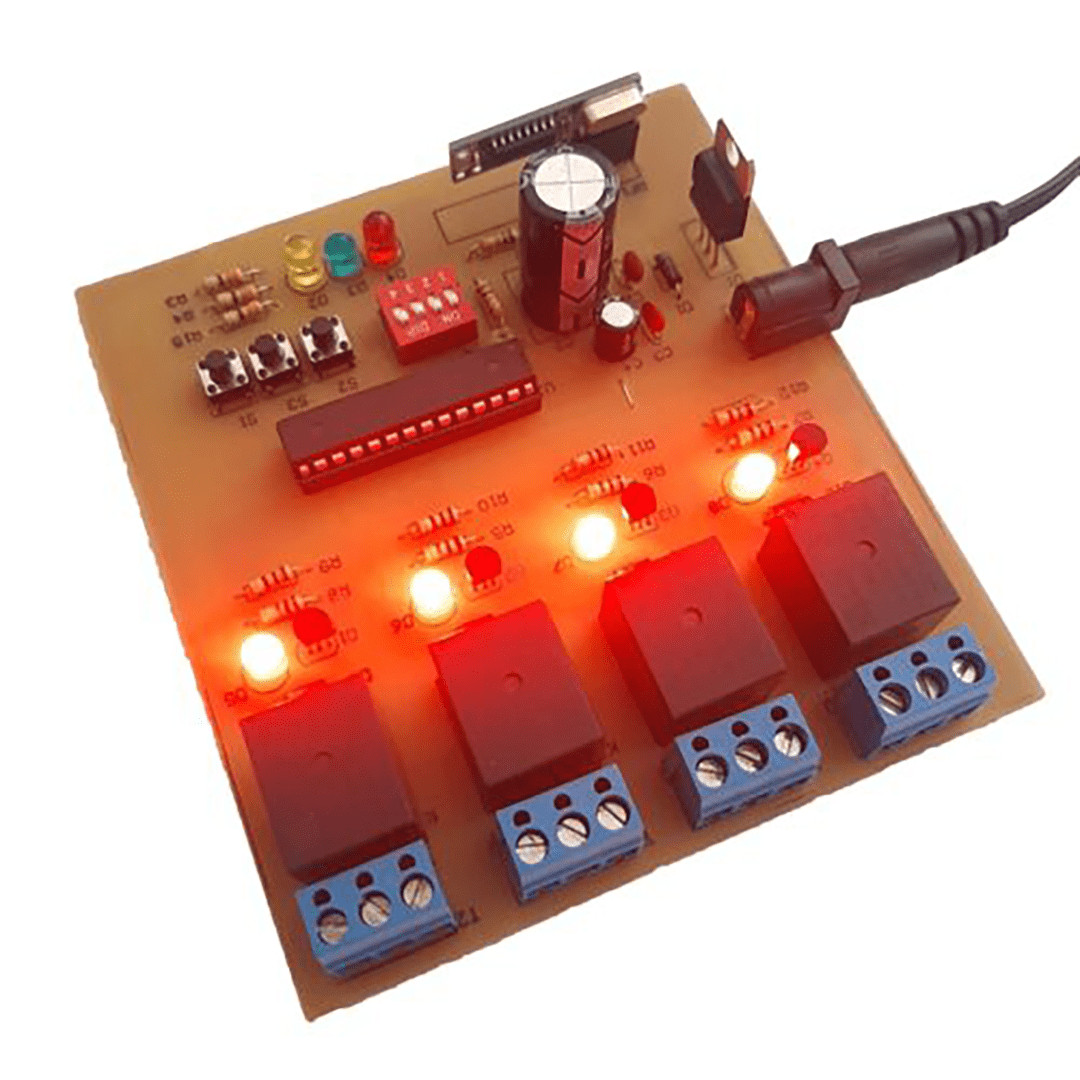
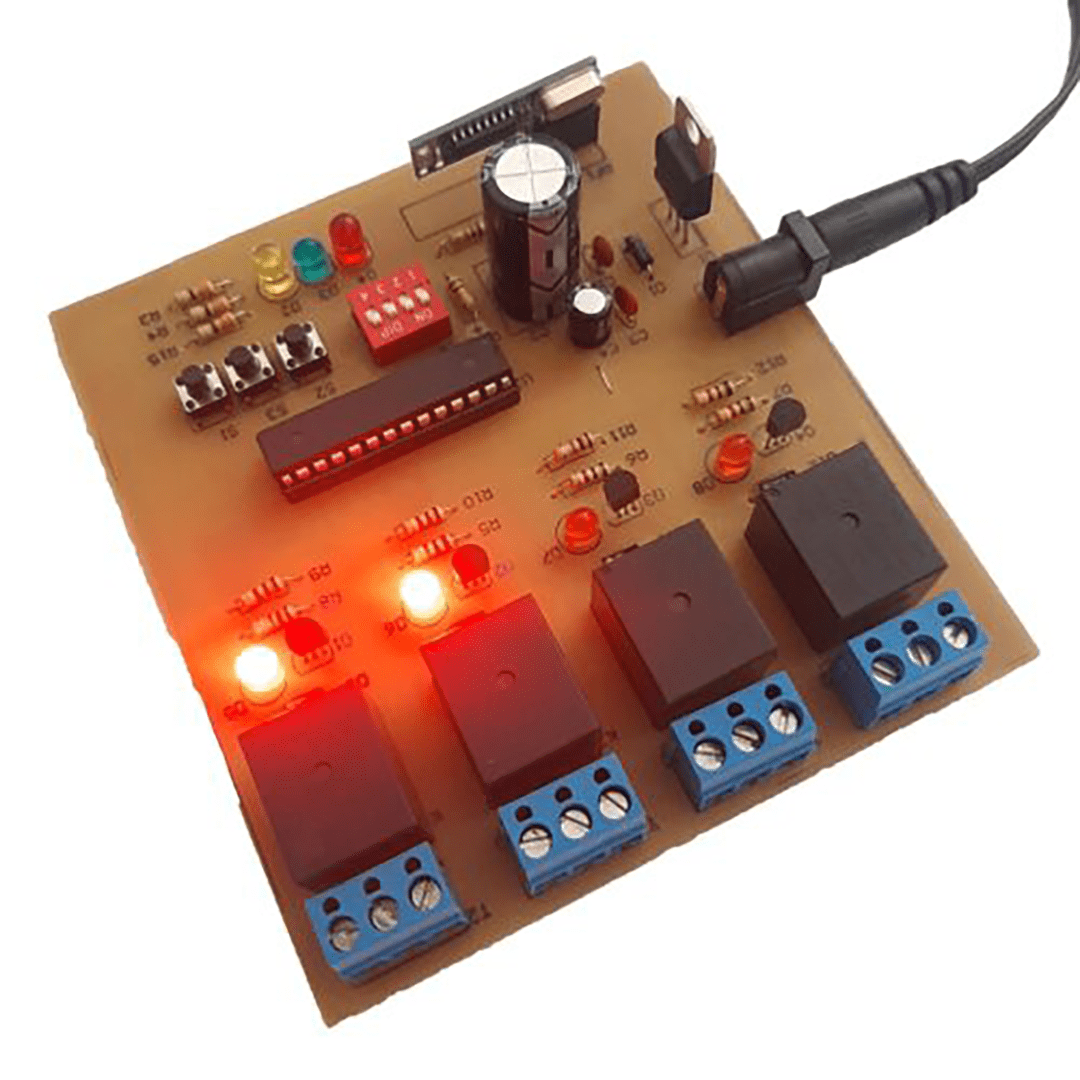
The professional code learning remote control project offers the following features: you can individually determine the momentary or permanent state of each channel using DIP switches. On the board, we have included an LED for each relay, which can indicate which relay is active. With these LEDs, you can determine the on/off status of the relays.
The project includes three microswitches and three LEDs. With one of the microswitches, you can add a remote to the board. With another microswitch, you can remove a remote. The last microswitch allows you to delete all remotes. There are three LEDs as well, which indicate the status of the remotes.
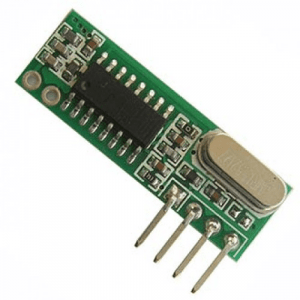
The RF receiver module used in this project is the ET-RXB22. This module is a wireless ASK receiver that operates in the ISM band. It can be directly connected to the MCU I/O or data input.
How to Use the Professional Code Learning Remote Control Project
Working with this project is very simple. After building the project, programming it, and setting the fuse bits, you can start using it with the ATmega8 microcontroller. However, there are a few points to consider. It is essential to use a code learning remote control. The code learning remotes compatible with this project should have ICs such as EV1527, RT1527, or FP1527.
The remote control that I used for this project is a code learning remote with the EV1527 IC. You can see its image below.
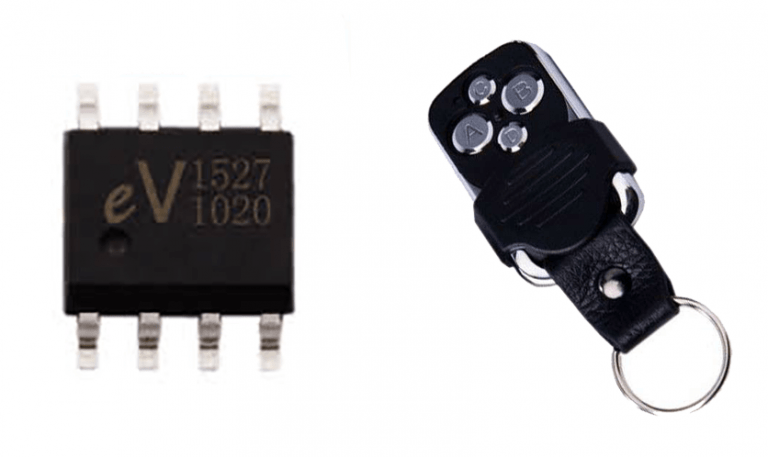
Another important point to consider is the frequency of the RF module and the remote control. If the frequency of the RF module does not match the frequency of the remote control, the project will not work. For example, if the frequency of the RF module is 433 MHz, the frequency of the remote control should also be 433MHz.
After you have completed the project, take the Learn button (S1) and press one of the buttons on the remote control. The remote-control will be paired with the project. To delete a single remote control, hold down the Delete button (S2) and keep one of the buttons on the remote control pressed until the remote control is deleted. To delete all paired remote controls using the project, you need to hold down the Delete All button (S3) and press one of the buttons on any remote control to delete all remote controls.
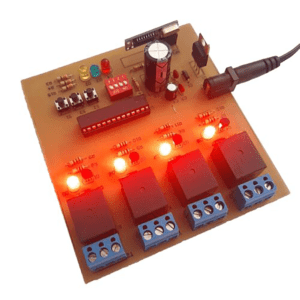
The project includes a DIP switch, which allows us to individually determine the momentary or latching behavior of each channel.
List of components used
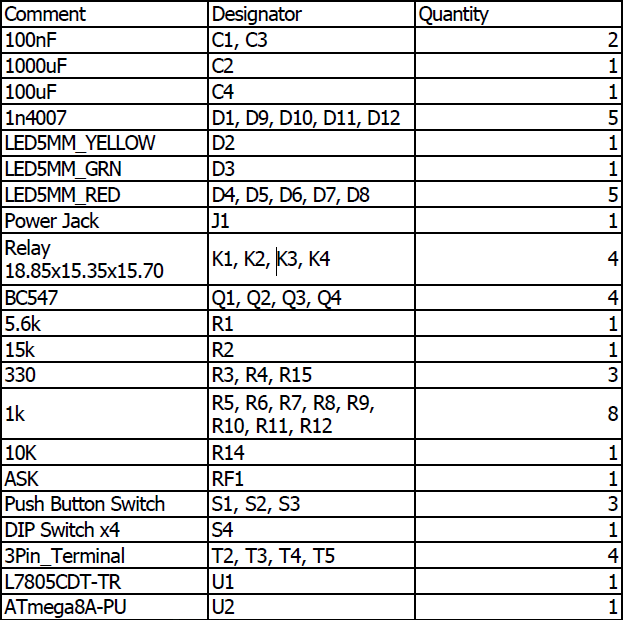
This project has:
3 months guaranteed support through ticket system
Money back guarantee in case of dissatisfaction ( according to the rules )
Free update
If you have any questions about Project, please ask in the comments section.


Comments (0)
Reviews
There are no reviews yet.