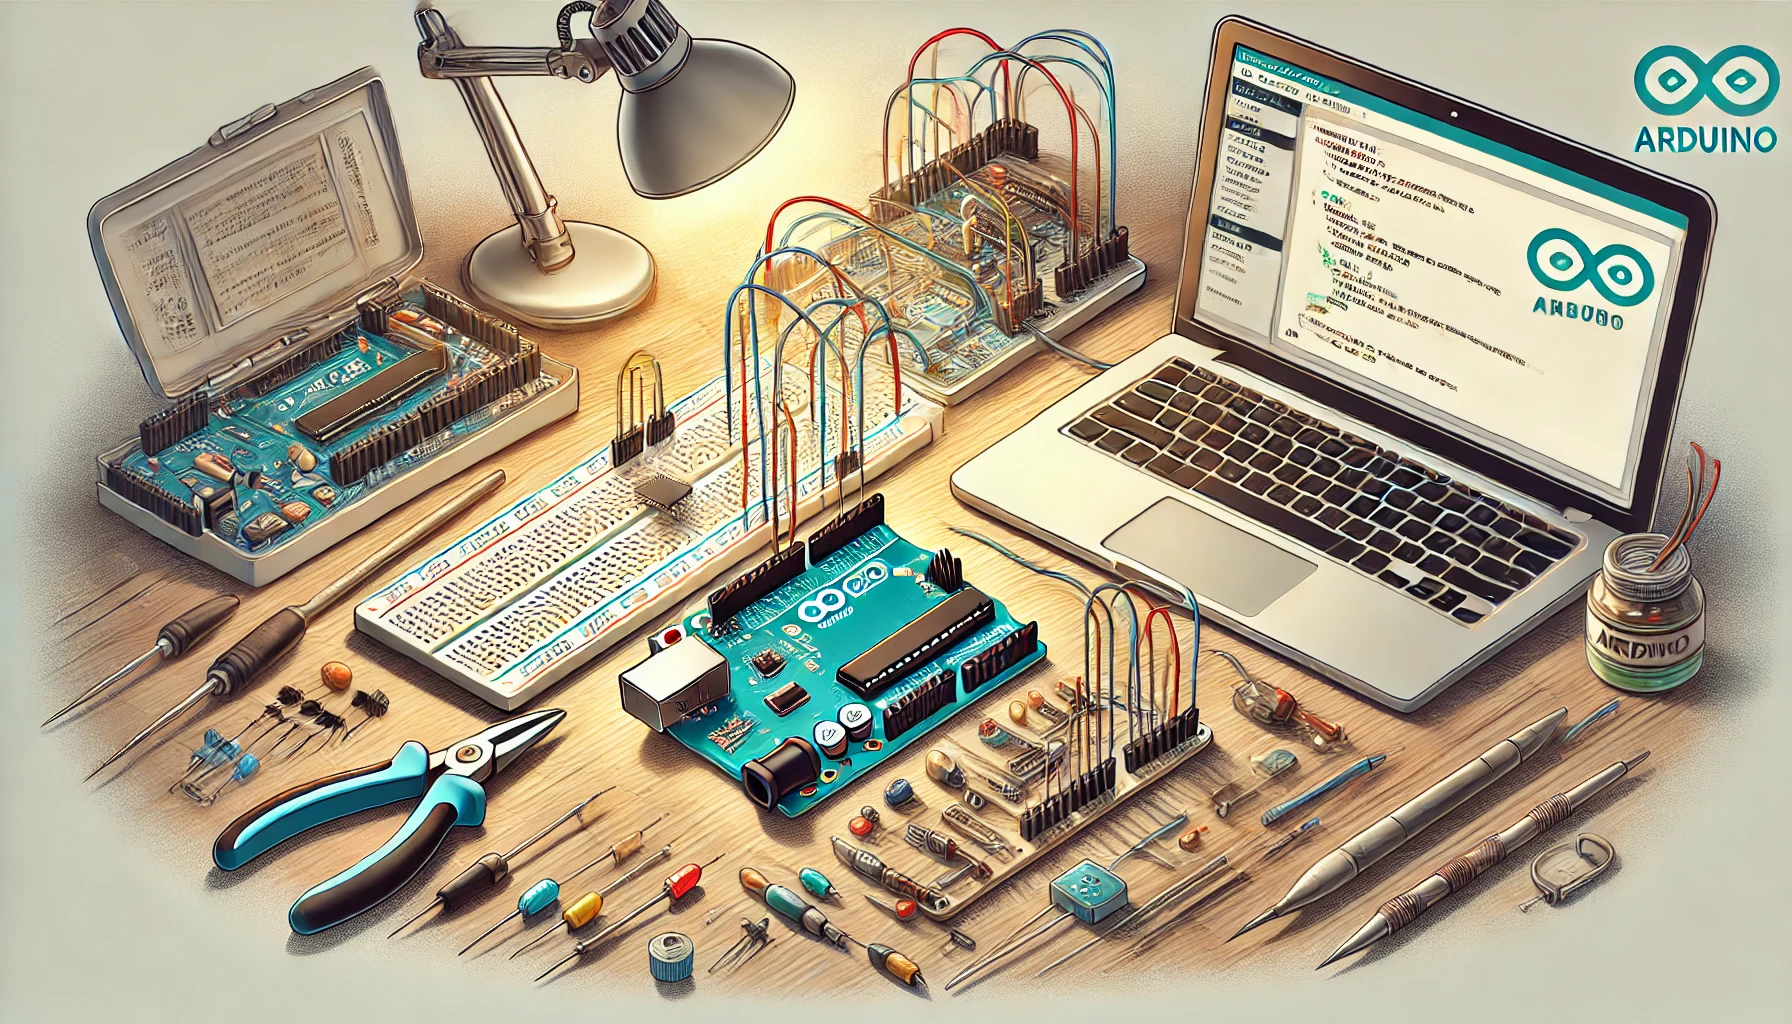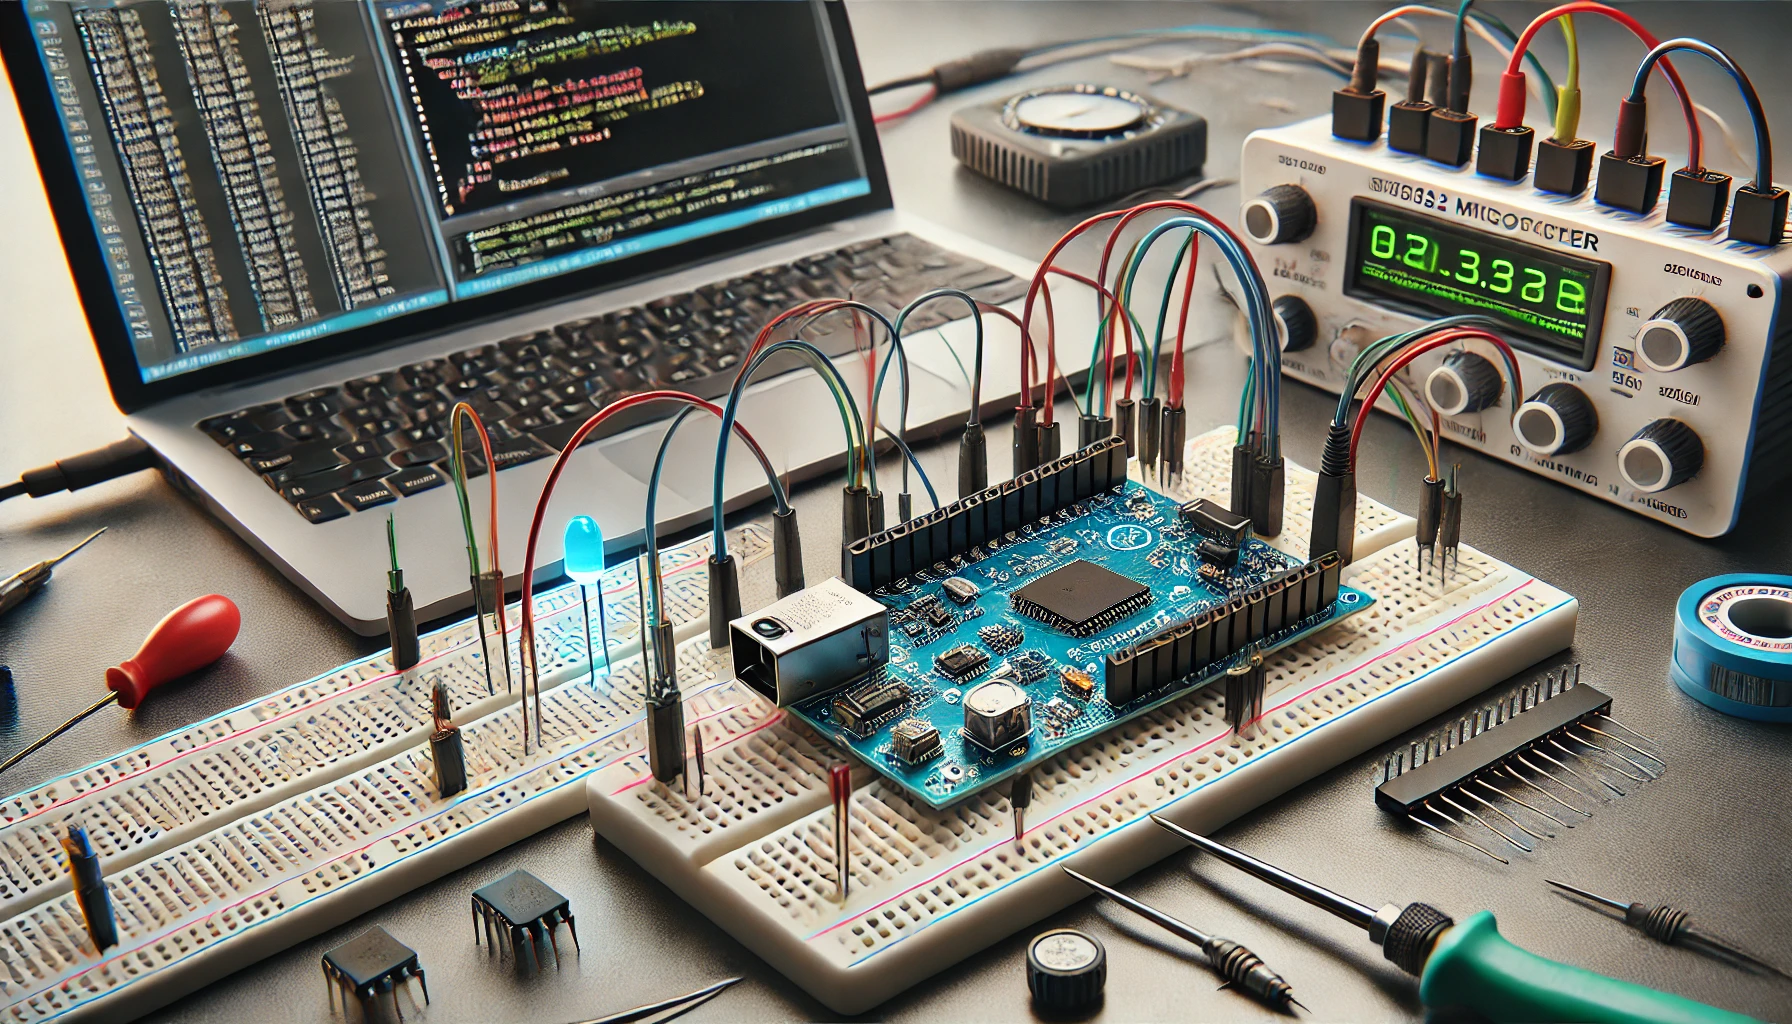
Arduino Programming for Beginners A Step by Step Guide , Arduino is an open-source platform that has revolutionized the way we approach electronics and programming. Whether you’re a hobbyist, student, or professional, Arduino offers an intuitive gateway to the world of microcontrollers, making it easier to build projects that interact with the physical world. In this guide, we’ll explore Arduino programming, its structure, key concepts, and basic examples, all explained in a beginner-friendly manner.
What is Arduino?
Arduino is both a hardware and software platform designed for building electronic projects. It consists of:
- Hardware: Microcontroller boards, such as Arduino Uno, Mega, and Nano.
- Software: The Arduino Integrated Development Environment (IDE), used to write and upload code to the board.
Arduino’s strength lies in its simplicity and versatility. It is often used for projects involving sensors, actuators, and communication devices.
Why Arduino?
- Accessible: Suitable for all skill levels.
- Cost-Effective: Affordable boards and components.
- Community Support: A vast online community providing tutorials and libraries.
Arduino Programming Language
Arduino’s programming language is based on C/C++ and integrates specialized functions for hardware control. This abstraction allows users to focus on functionality without delving too deeply into low-level details.
Structure of an Arduino Program
Arduino programs, called sketches, are composed of two main functions:
1. The setup() Function
This runs only once when the program starts. It is used for initialization tasks such as:
- Setting pin modes (
INPUT,OUTPUT). - Initializing serial communication.
Example:
void setup() {
    pinMode(13, OUTPUT); // Configure pin 13 as an OUTPUT
    Serial.begin(9600);  // Start serial communication
}
2. The loop() Function
This contains the core logic of the program and runs repeatedly as long as the board is powered.
Example:
void loop() {
    digitalWrite(13, HIGH); // Turn on an LED
    delay(1000);            // Wait for 1 second
    digitalWrite(13, LOW);  // Turn off the LED
    delay(1000);            // Wait for 1 second
}
Basic Concepts and Commands
Arduino provides built-in functions that simplify hardware interaction.
Digital I/O
pinMode(pin, mode): Configures a pin asINPUTorOUTPUT.digitalWrite(pin, value): Sets a digital pin toHIGH(on) orLOW(off).digitalRead(pin): Reads the state of a digital pin (HIGHorLOW).
Example:
void setup() {
    pinMode(8, OUTPUT); // Set pin 8 as OUTPUT
    pinMode(7, INPUT);  // Set pin 7 as INPUT
}

void loop() {
    int buttonState = digitalRead(7); // Read button state
    digitalWrite(8, buttonState);     // Mirror the button state to an LED
}
Analog I/O
analogRead(pin): Reads analog input (range: 0 to 1023).analogWrite(pin, value): Writes a PWM signal to a pin (range: 0 to 255).
Example:
void setup() {
    pinMode(9, OUTPUT); // Set pin 9 as OUTPUT
}

void loop() {
    for (int brightness = 0; brightness <= 255; brightness++) {
        analogWrite(9, brightness); // Gradually increase brightness
        delay(10);
    }
}
Time Control
delay(ms): Pauses the program for a specified number of milliseconds.millis(): Returns the elapsed time since the program started.
Example:
unsigned long previousTime = 0;

void setup() {
    pinMode(13, OUTPUT);
}

void loop() {
    unsigned long currentTime = millis();
    if (currentTime - previousTime >= 1000) { // Toggle LED every second
        digitalWrite(13, !digitalRead(13));
        previousTime = currentTime;
    }
}
Variables and Data Types
Arduino supports various data types, including int, float, char, and boolean.
Examples:
int ledPin = 13;       // Integer variable
float temperature = 25.6; // Float variable
char letter = 'A';     // Character variable
boolean isActive = true; // Boolean variable
Practical Examples
1. LED Blinking
This is the simplest and most common Arduino project.
Hardware Setup:
- Connect an LED to pin 13 with a 220-ohm resistor.
Code:
void setup() {
    pinMode(13, OUTPUT);
}

void loop() {
    digitalWrite(13, HIGH);
    delay(1000);
    digitalWrite(13, LOW);
    delay(1000);
}
2. Temperature Monitoring
Using a temperature sensor like the LM35.
Hardware Setup:
- Connect the sensor’s output to analog pin A0.
Code:
void setup() {
    Serial.begin(9600); // Initialize serial communication
}

void loop() {
    int sensorValue = analogRead(A0);             // Read sensor value
    float temperature = sensorValue * (5.0 / 1023.0) * 100; // Convert to Celsius
    Serial.println(temperature);                 // Print temperature
    delay(1000);                                 // Wait 1 second
}
3. Controlling a Servo Motor
Servo motors are widely used for precise angular motion.
Hardware Setup:
- Connect the servo control wire to pin 9.
Code:
#include <Servo.h>

Servo myServo; // Create a Servo object

void setup() {
    myServo.attach(9); // Attach the servo to pin 9
}

void loop() {
    myServo.write(0);   // Move to 0 degrees
    delay(1000);
    myServo.write(90);  // Move to 90 degrees
    delay(1000);
    myServo.write(180); // Move to 180 degrees
    delay(1000);
}
Tips for Success
- Start Small: Focus on simple tasks like LED blinking before tackling complex projects.
- Explore Libraries: Leverage Arduino’s extensive libraries for advanced functionality (e.g., WiFi, motor control).
- Debug with Serial Monitor: Use
Serial.print()to monitor variables and debug effectively. - Document Code: Add comments to explain your code for future reference.
Arduino is a fantastic tool for exploring programming and electronics. Its flexibility and simplicity make it suitable for a wide range of applications, from basic experiments to advanced IoT projects. By understanding the fundamentals outlined here, you’re well-equipped to embark on your Arduino journey and bring your creative ideas to life.
Arduino Programming for Beginners A Step by Step Guide


Comments (0)