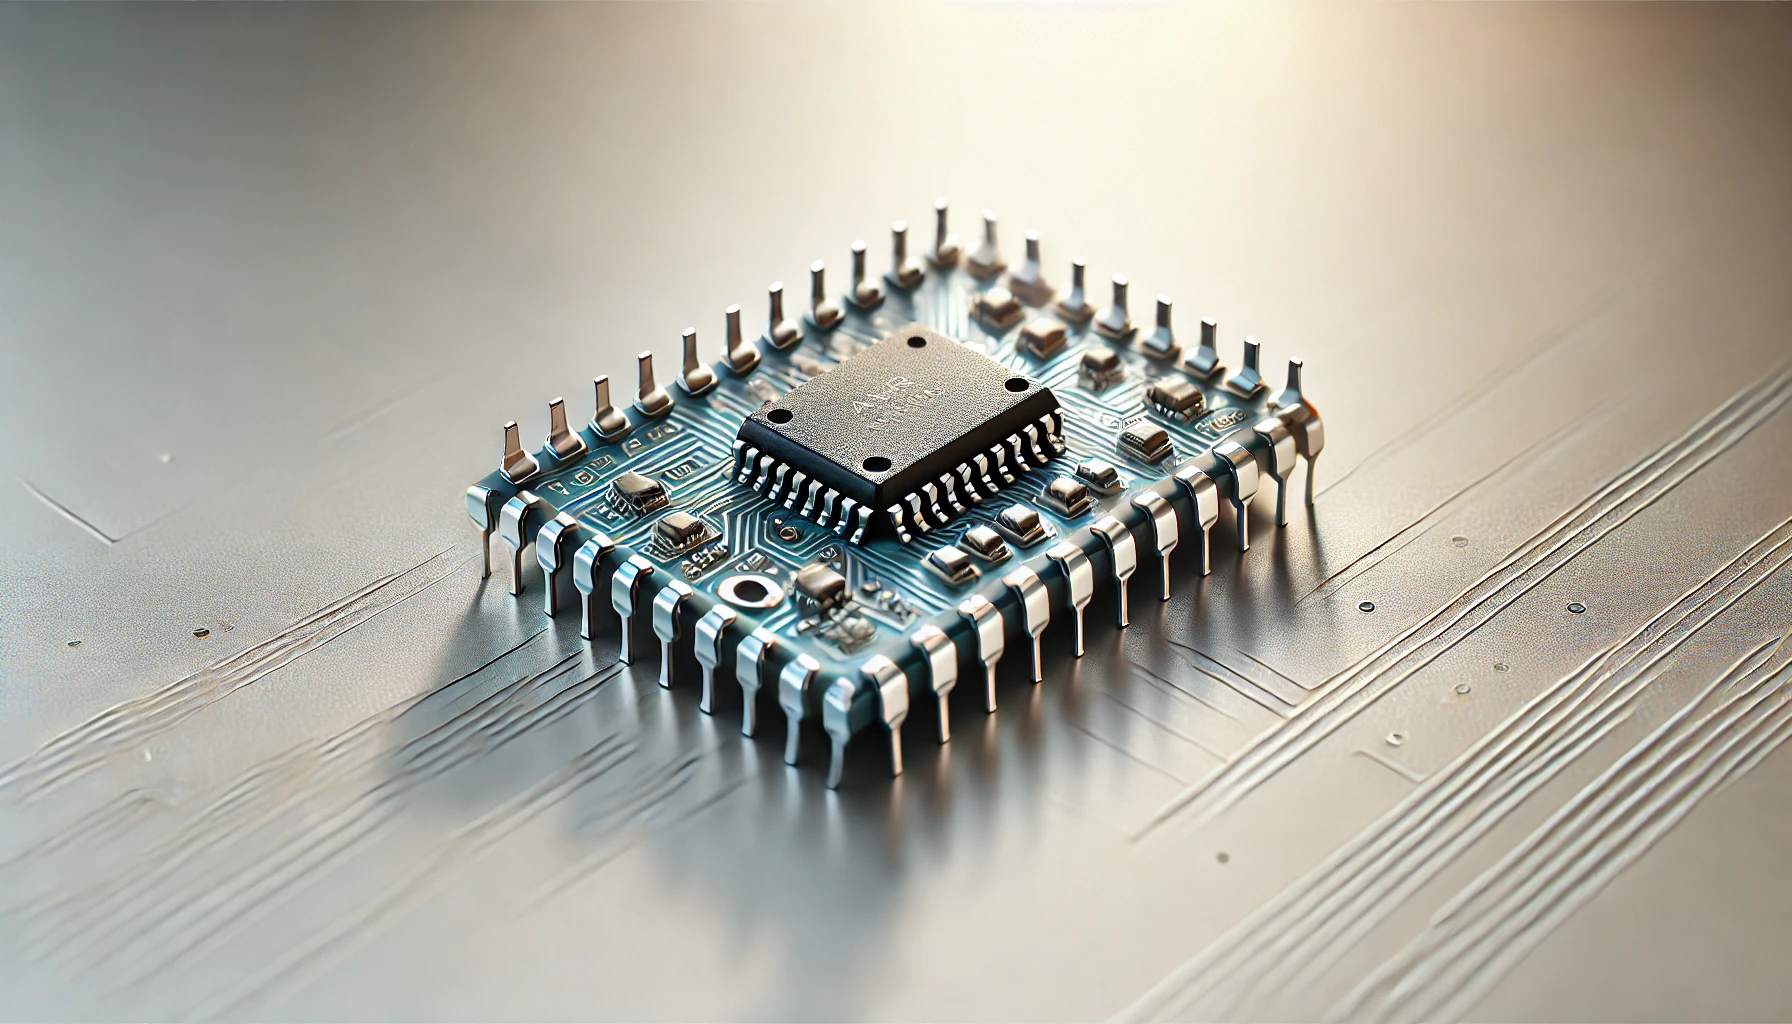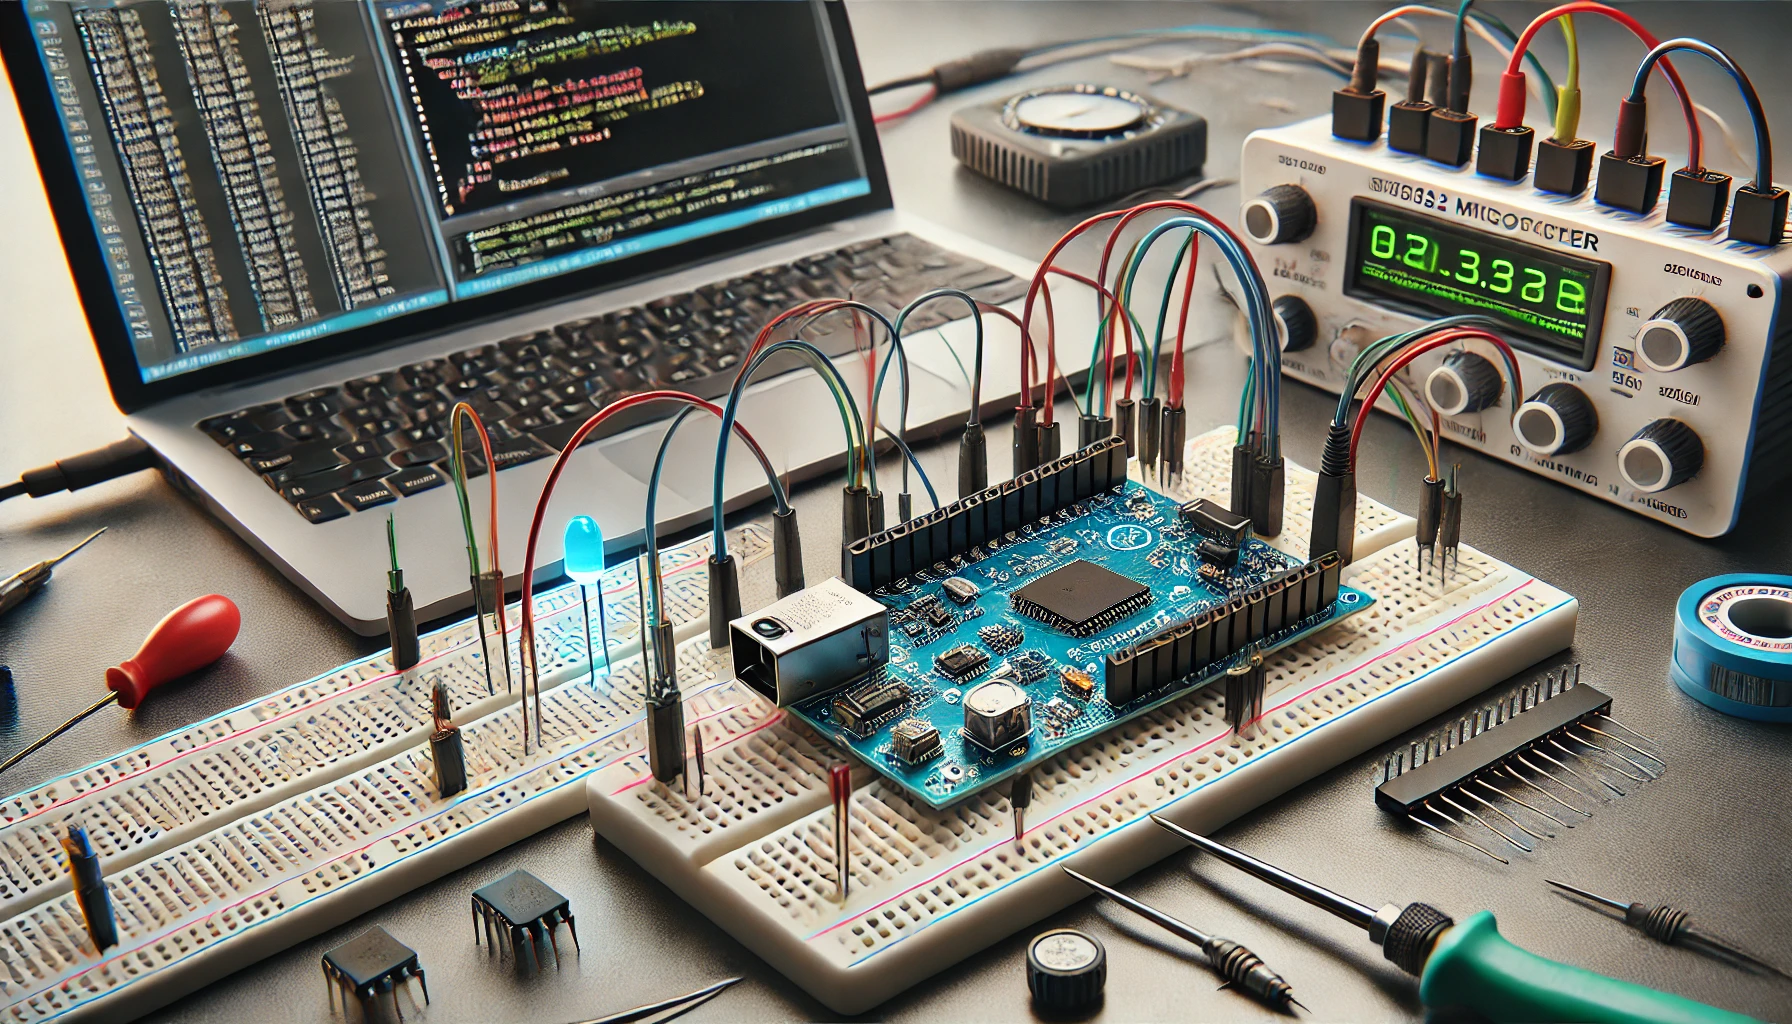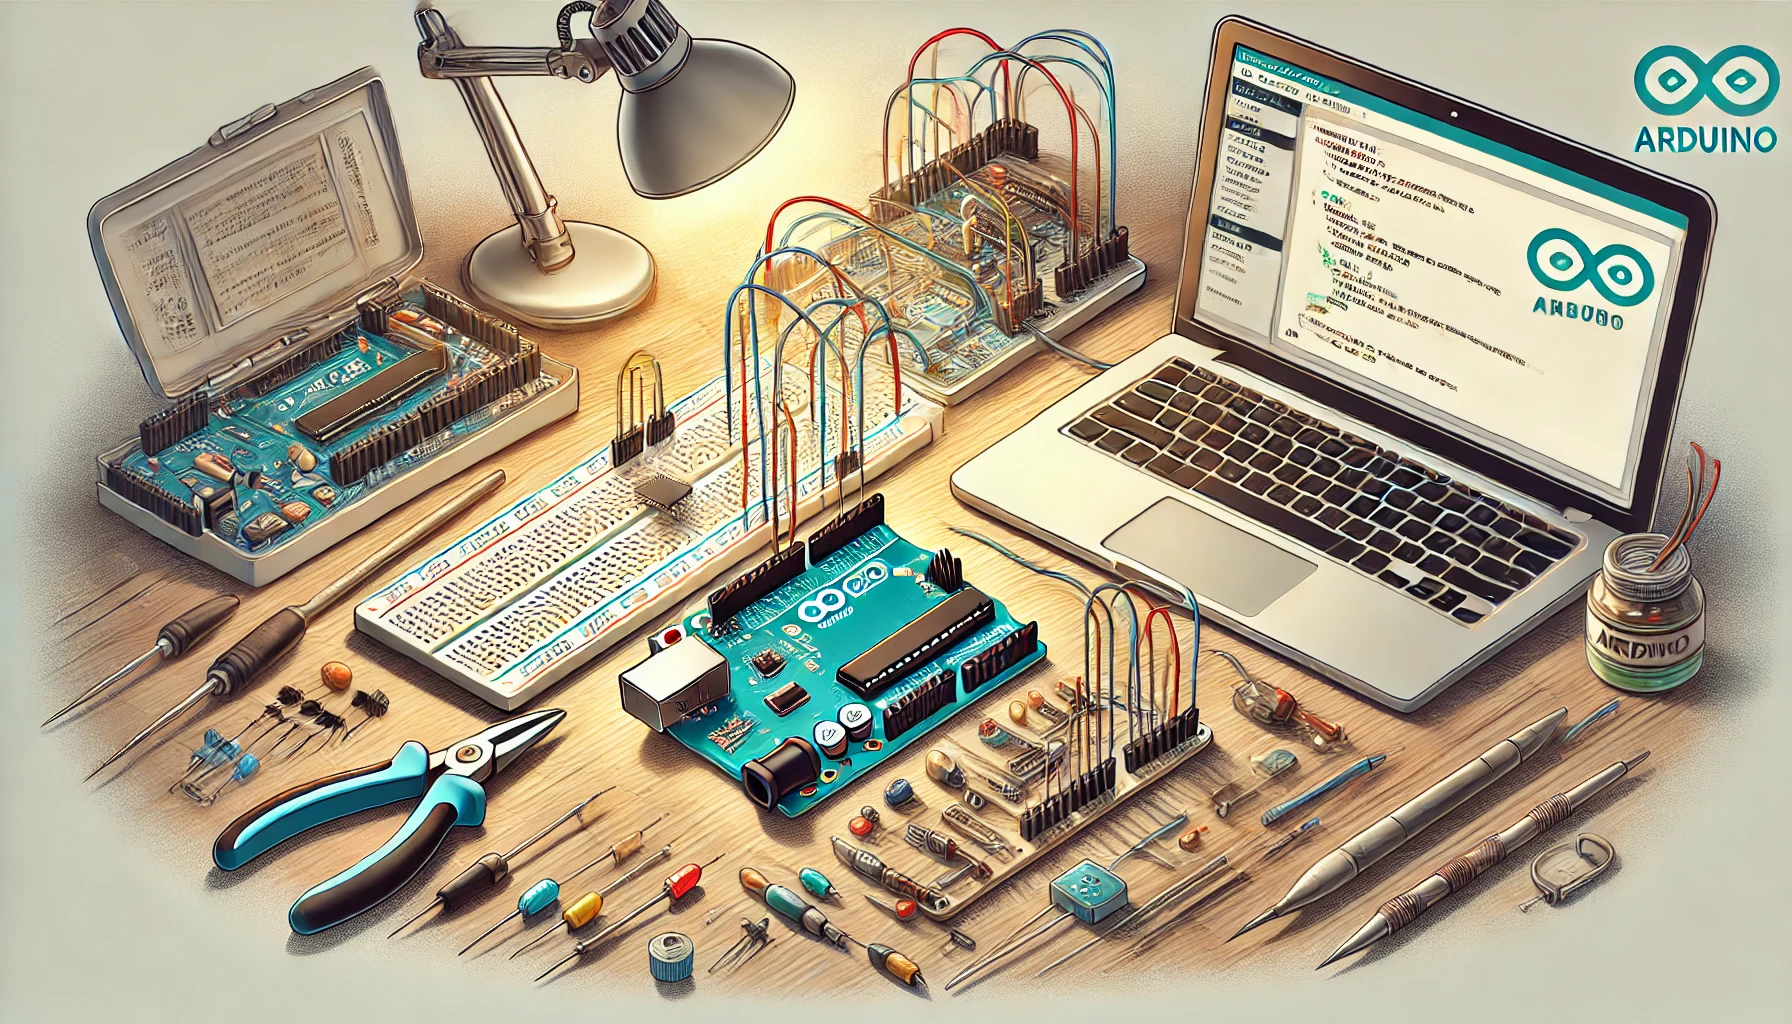
Beginners Guide to AVR Microcontroller Programming Learn C and Atmel Studio Step by Step , Microcontrollers play a pivotal role in the modern embedded systems landscape. AVR microcontrollers, developed by Atmel (now part of Microchip Technology), are particularly popular among hobbyists and professionals due to their simplicity, versatility, and cost-effectiveness. This article is tailored for beginners eager to delve into the world of AVR microcontrollers, focusing on understanding their structure, programming them using C, and leveraging development environments like AVR Studio or Atmel Studio.
1. Introduction to AVR Microcontrollers
AVR microcontrollers are an 8-bit RISC-based microcontroller family that balances ease of programming with robust features. They are widely used in robotics, IoT devices, and other embedded applications.
Key Features
- Architecture: AVR microcontrollers use a modified Harvard architecture, which allows simultaneous access to program instructions and data.
- Flash Memory: They come with in-system programmable flash memory.
- Performance: Operates at clock speeds up to 20 MHz, ensuring efficient task execution.
- Peripheral Support: Includes timers, counters, ADCs (Analog-to-Digital Converters), PWM (Pulse Width Modulation), and USART.
Popular AVR microcontrollers include the ATmega and ATtiny series, such as ATmega328 (used in Arduino boards) and ATtiny85.
2. Why Choose AVR Microcontrollers?
- Beginner-Friendly: The availability of tutorials, forums, and community support makes it easy for newcomers to learn.
- Rich Toolset: Tools like AVR Studio (later replaced by Atmel Studio) simplify the development process.
- Cost-Efficiency: Affordable and widely available, making them accessible to enthusiasts and learners.
- Integration with Arduino: Arduino boards and their vast ecosystem are based on AVR chips, allowing easy migration to advanced projects.
3. Programming AVR Microcontrollers Using C
Programming AVR microcontrollers typically involves writing code in C, which is compiled and uploaded to the chip.
Step-by-Step Guide
- Setup Your Environment:
- Download and install Atmel Studio, an integrated development environment (IDE) for AVR development.
- Ensure you have a suitable programmer, such as AVRISP mkII or USBasp.
- Create a New Project:
- Open Atmel Studio.
- Select “New Project” → Choose a C or C++ template.
- Pick your microcontroller model (e.g., ATmega328P).
- Write Your Code: Here’s a simple example to blink an LED:
#include <avr/io.h>
#include <util/delay.h>

int main(void) {
    DDRB |= (1 << PB0);  // Set PB0 as output
    while (1) {
        PORTB ^= (1 << PB0);  // Toggle PB0
        _delay_ms(500);       // Delay for 500 ms
    }
}
4. Compile and Build:
- Click “Build” to compile the code.
- Check for errors or warnings.
5. Upload to the Microcontroller:
- Connect your programmer.
- Use the “Device Programming” tool in Atmel Studio to flash your compiled program onto the microcontroller.
4. Development Environments
Atmel Studio
- A comprehensive IDE tailored for AVR and ARM microcontrollers.
- Offers debugging tools, simulation environments, and direct integration with hardware programmers.
Arduino IDE
- A simplified platform for quick prototyping.
- While it abstracts low-level details, it’s a good starting point for beginners.
5. Practical Tips for Beginners
- Understand Datasheets:
- Every AVR microcontroller has a datasheet outlining its pin configuration, features, and usage guidelines.
- Start Small:
- Begin with basic projects like LED blinking or button-controlled outputs before diving into complex applications.
- Master Registers:
- Understanding how to configure and manipulate microcontroller registers is key to harnessing their full potential.
- Leverage Libraries:
- Use pre-built libraries for complex functions like UART communication or PWM to save time.
6. Troubleshooting Common Issues
- Connection Errors: Ensure your programmer is correctly connected and the microcontroller is powered.
- Compilation Issues: Double-check your code for syntax errors and include necessary headers.
- Flashing Problems: Verify that the correct microcontroller and programmer are selected in your IDE.
Conclusion
Diving into AVR programming is an excellent starting point for anyone interested in embedded systems. By mastering the basics, you open the door to creating innovative projects, from simple home automation systems to sophisticated IoT devices. With tools like Atmel Studio and the power of C programming, the possibilities are virtually limitless. Happy coding!
Beginners Guide to AVR Microcontroller Programming Learn C and Atmel Studio Step by Step


Comments (0)