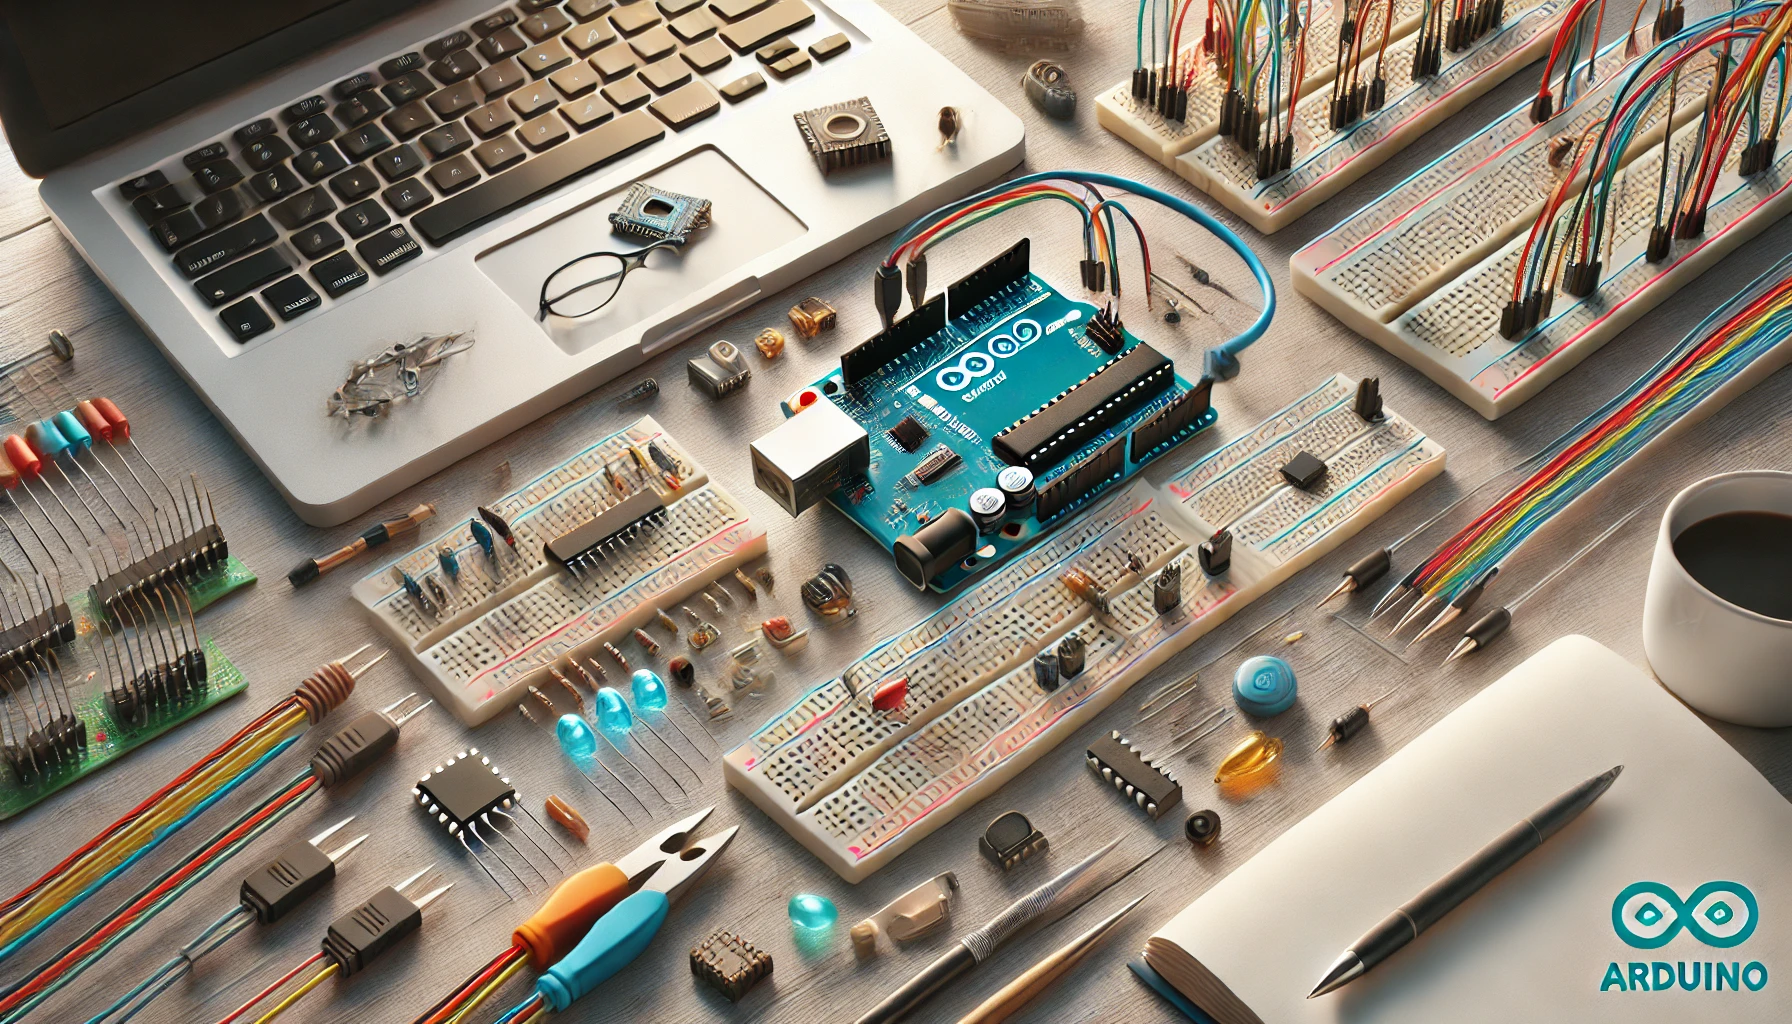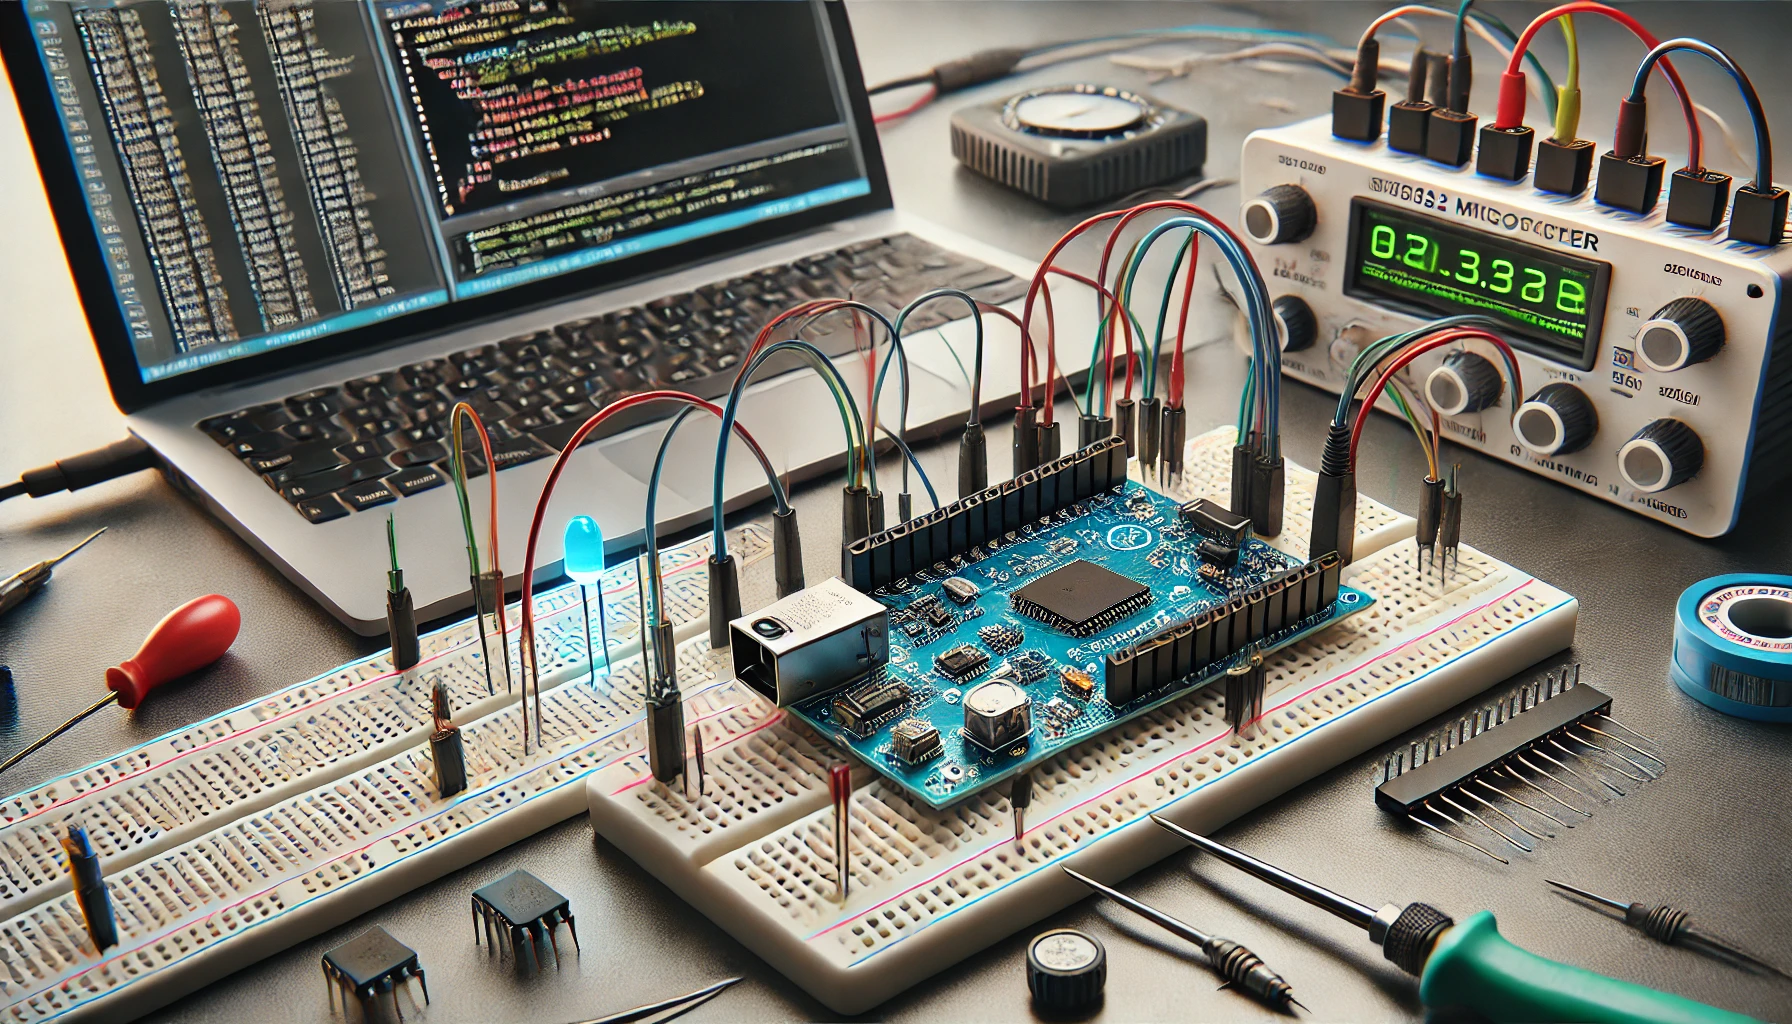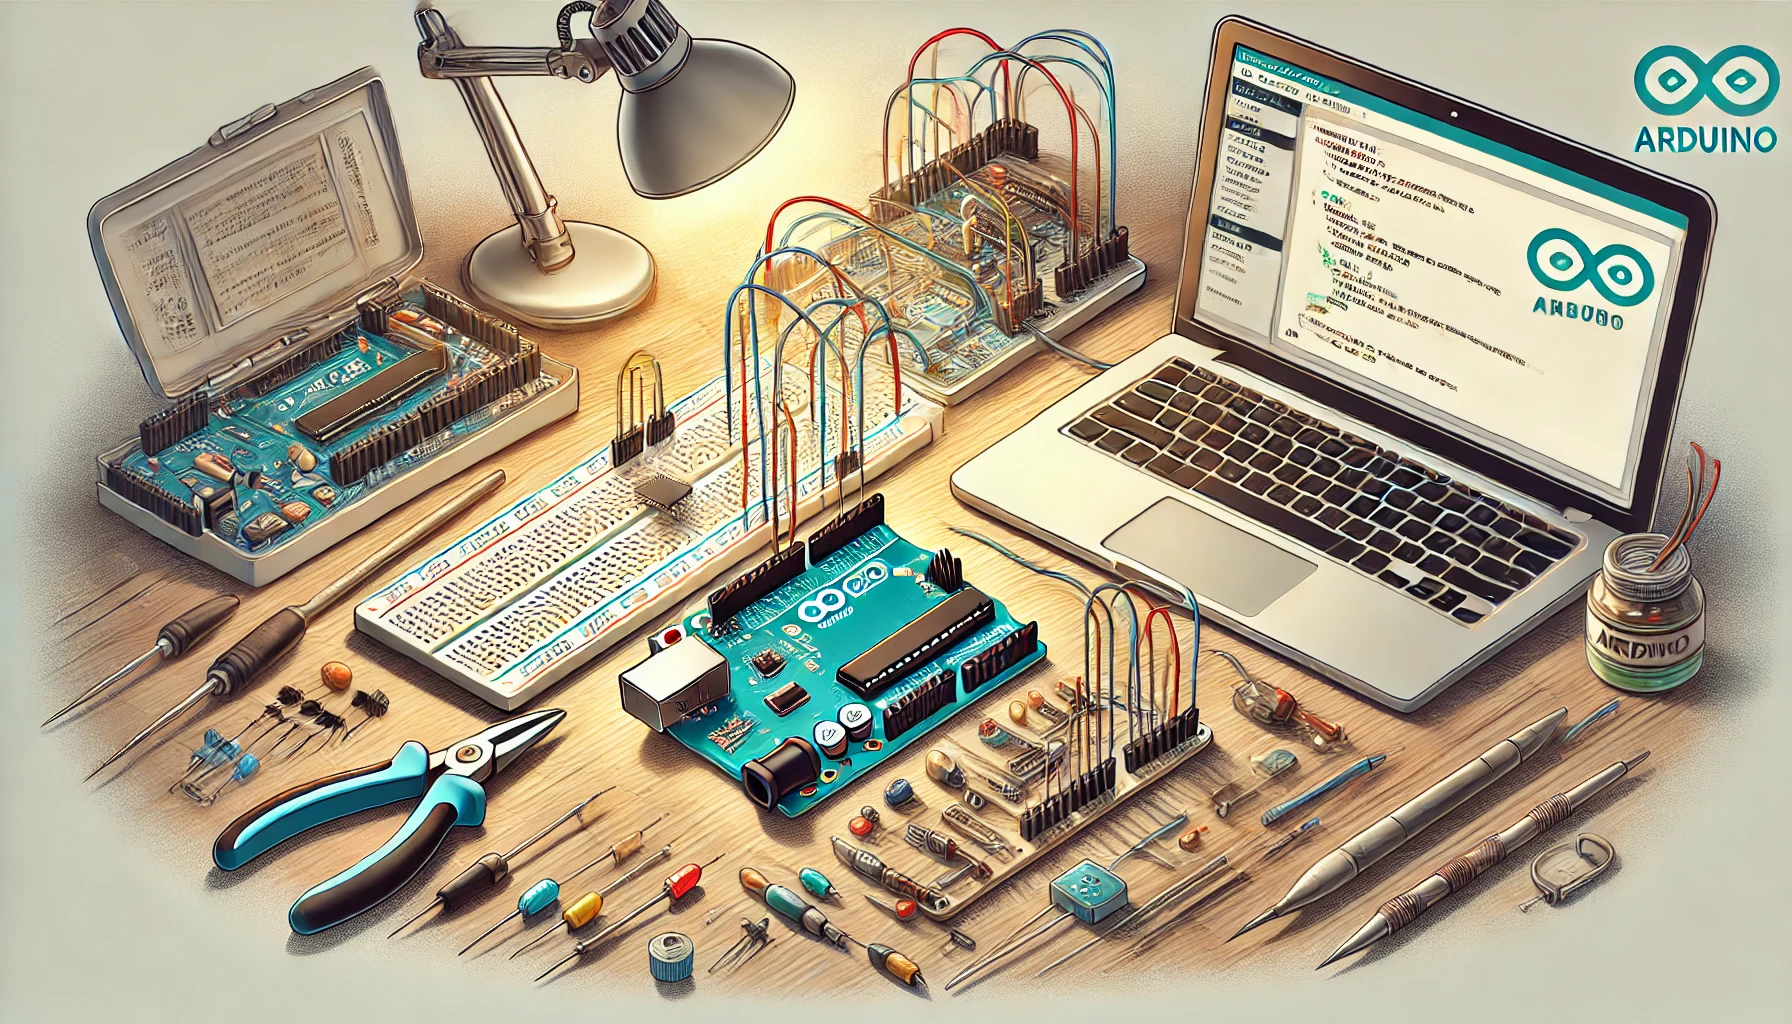
Getting Started with Arduino Basics and Applications , Arduino is a popular open-source electronics platform that combines both hardware and software to simplify the development of interactive projects. It’s widely used by hobbyists, educators, and professionals due to its simplicity and versatility. In this article, we’ll explore what Arduino is, its components, and its applications, followed by beginner-friendly project ideas.
What is Arduino?
Arduino refers to a hardware-software ecosystem designed to make electronics accessible to everyone. It consists of microcontroller boards that can be programmed using the Arduino Integrated Development Environment (IDE). The platform is ideal for beginners and experts alike, enabling them to build anything from simple LEDs to complex robotics systems.
Key attributes of Arduino include:
- Open-Source: Both the software and hardware designs are open-source, allowing customization and innovation.
- Versatility: It supports various applications, from basic blinking LEDs to IoT and AI projects.
- User-Friendly Programming: The Arduino IDE uses a simplified C++ programming language, making it accessible even for non-programmers.
Core Components of Arduino
- Microcontroller Board
- Central to Arduino is the microcontroller, a small computer on a chip.
- Common boards include:
- Arduino Uno: Ideal for beginners with a user-friendly layout.
- Arduino Mega: Suitable for complex projects requiring more memory and I/O pins.
- Arduino Nano: Compact for space-constrained projects.
- Input/Output Pins
- Digital Pins: Used for reading digital signals or controlling outputs like LEDs.
- Analog Pins: Allow for reading varying voltages, crucial for sensors.
- Power Supply
- Arduino boards can be powered via USB or an external power source, usually ranging between 7V and 12V.
- USB Connection
- Facilitates programming the board and powers it during development.
- Onboard Indicators
- Includes LEDs for power and basic debugging, such as the “L” LED for testing.
- Additional Modules and Shields
- Shields are add-ons that stack onto the Arduino board to expand functionality, such as motor drivers or Wi-Fi modules.
How to Use Arduino in Projects
Setup
Install the Arduino IDE from the official Arduino website.
Connect the Arduino board to your computer via USB.
Select the appropriate board and port from the IDE settings.
Coding
Write a program (called a sketch) using Arduino’s simplified programming syntax.
Example:
void setup() {
  pinMode(13, OUTPUT); // Set pin 13 as output
}
void loop() {
  digitalWrite(13, HIGH); // Turn on LED
  delay(1000); // Wait for 1 second
  digitalWrite(13, LOW); // Turn off LED
  delay(1000); // Wait for 1 second
}
Uploading
Compile and upload your sketch to the Arduino board via the USB connection.
Integration
Combine the Arduino board with sensors, actuators, and modules to bring your project to life.
Applications of Arduino
- Home Automation
- Smart lights, security systems, and automated appliances can be built with Arduino.
- Educational Tools
- Arduino simplifies teaching electronics and programming to students.
- Robotics
- Build robots with features like obstacle detection and autonomous movement.
- IoT (Internet of Things)
- Create IoT devices that monitor or control environments remotely.
- Prototyping
- Professionals use Arduino for rapid prototyping of electronic systems.
Beginner-Friendly Projects
- Blinking LED
- The “Hello World” of Arduino programming. Connect an LED to a digital pin and use code to make it blink.
- Temperature Monitoring
- Use a temperature sensor like LM35 with Arduino to display room temperature on an LCD screen.
- Light Sensor
- Combine a photoresistor with Arduino to measure light levels and automate lighting systems.
- Motion Detector
- Use a PIR sensor to detect movement and trigger an alarm or light.
- Smart Plant Watering System
- Connect soil moisture sensors to monitor and automate watering.
Advantages of Arduino for Beginners
- Low-Cost: Affordable and accessible for personal and educational use.
- Strong Community Support: A vast community ensures extensive resources, tutorials, and forums for troubleshooting.
- Scalability: Allows transitioning from basic to advanced projects seamlessly.
Conclusion
Arduino bridges the gap between imagination and reality in electronics. Its simplicity and flexibility make it a top choice for hobbyists, educators, and engineers. Whether you’re a complete beginner or an experienced programmer, Arduino offers endless possibilities for creating innovative projects. Start with small experiments, and as your skills grow, the scope of your projects will too. Happy tinkering!
Getting Started with Arduino Basics and Applications


Comments (0)