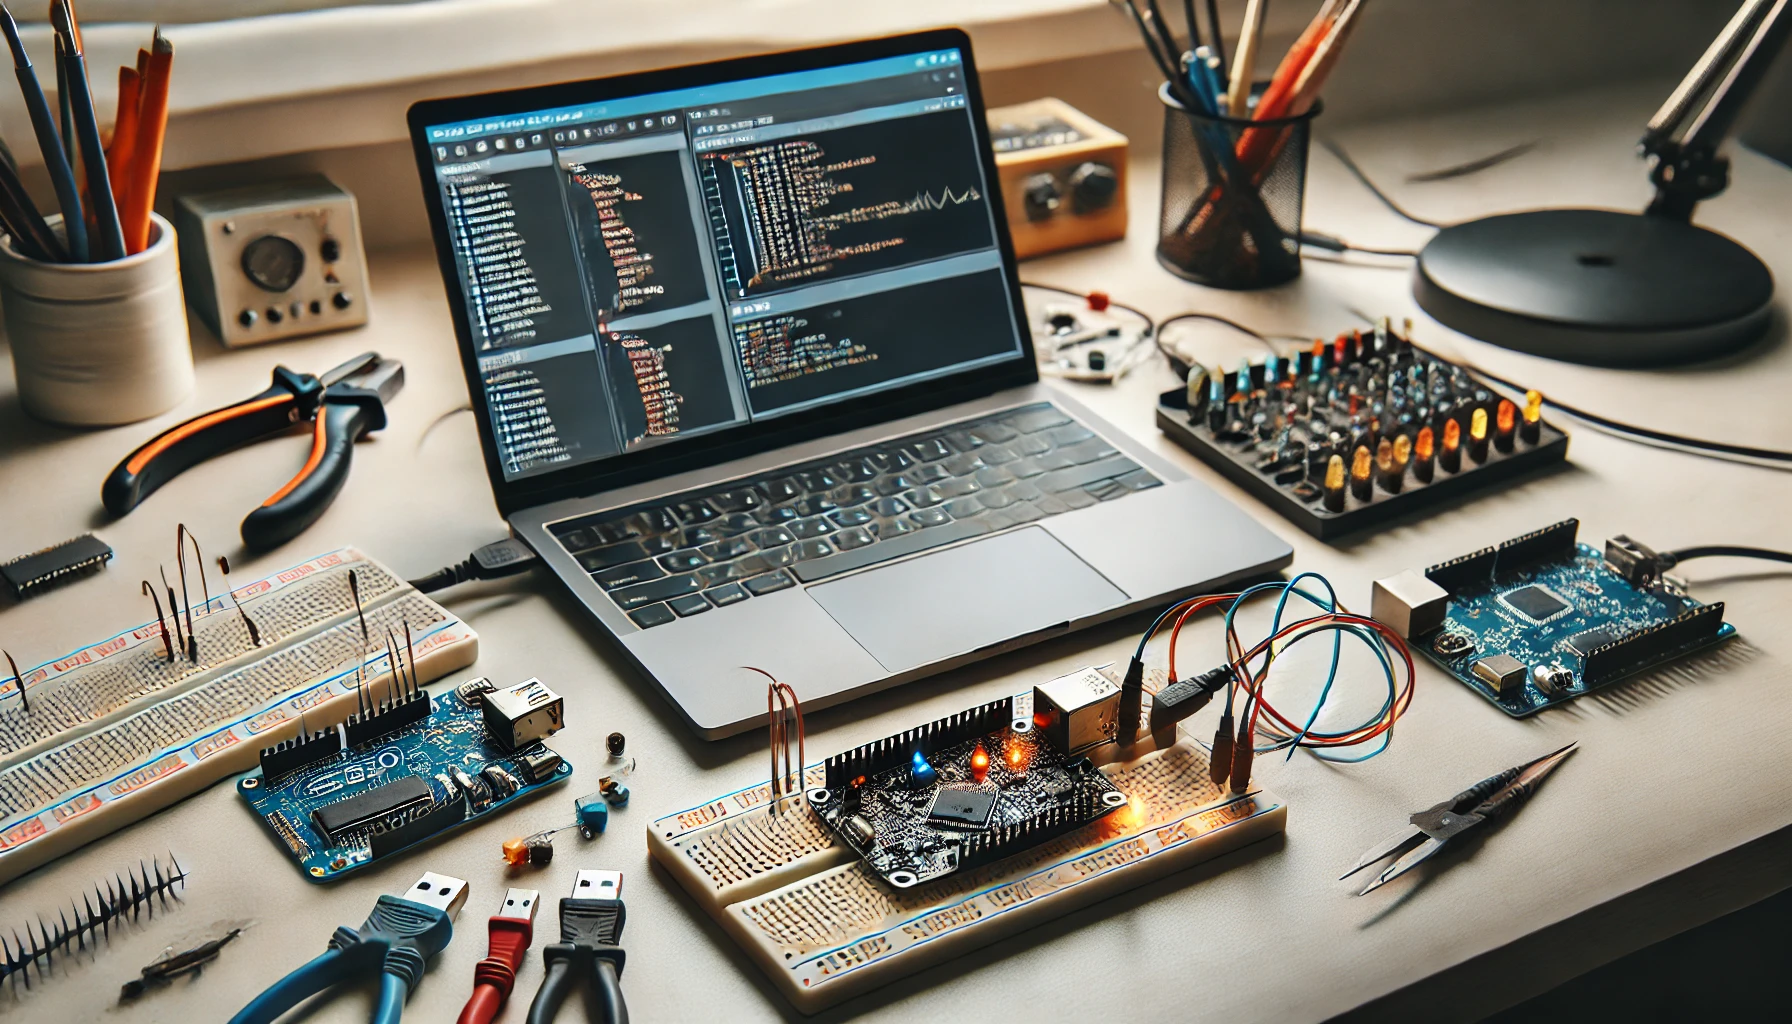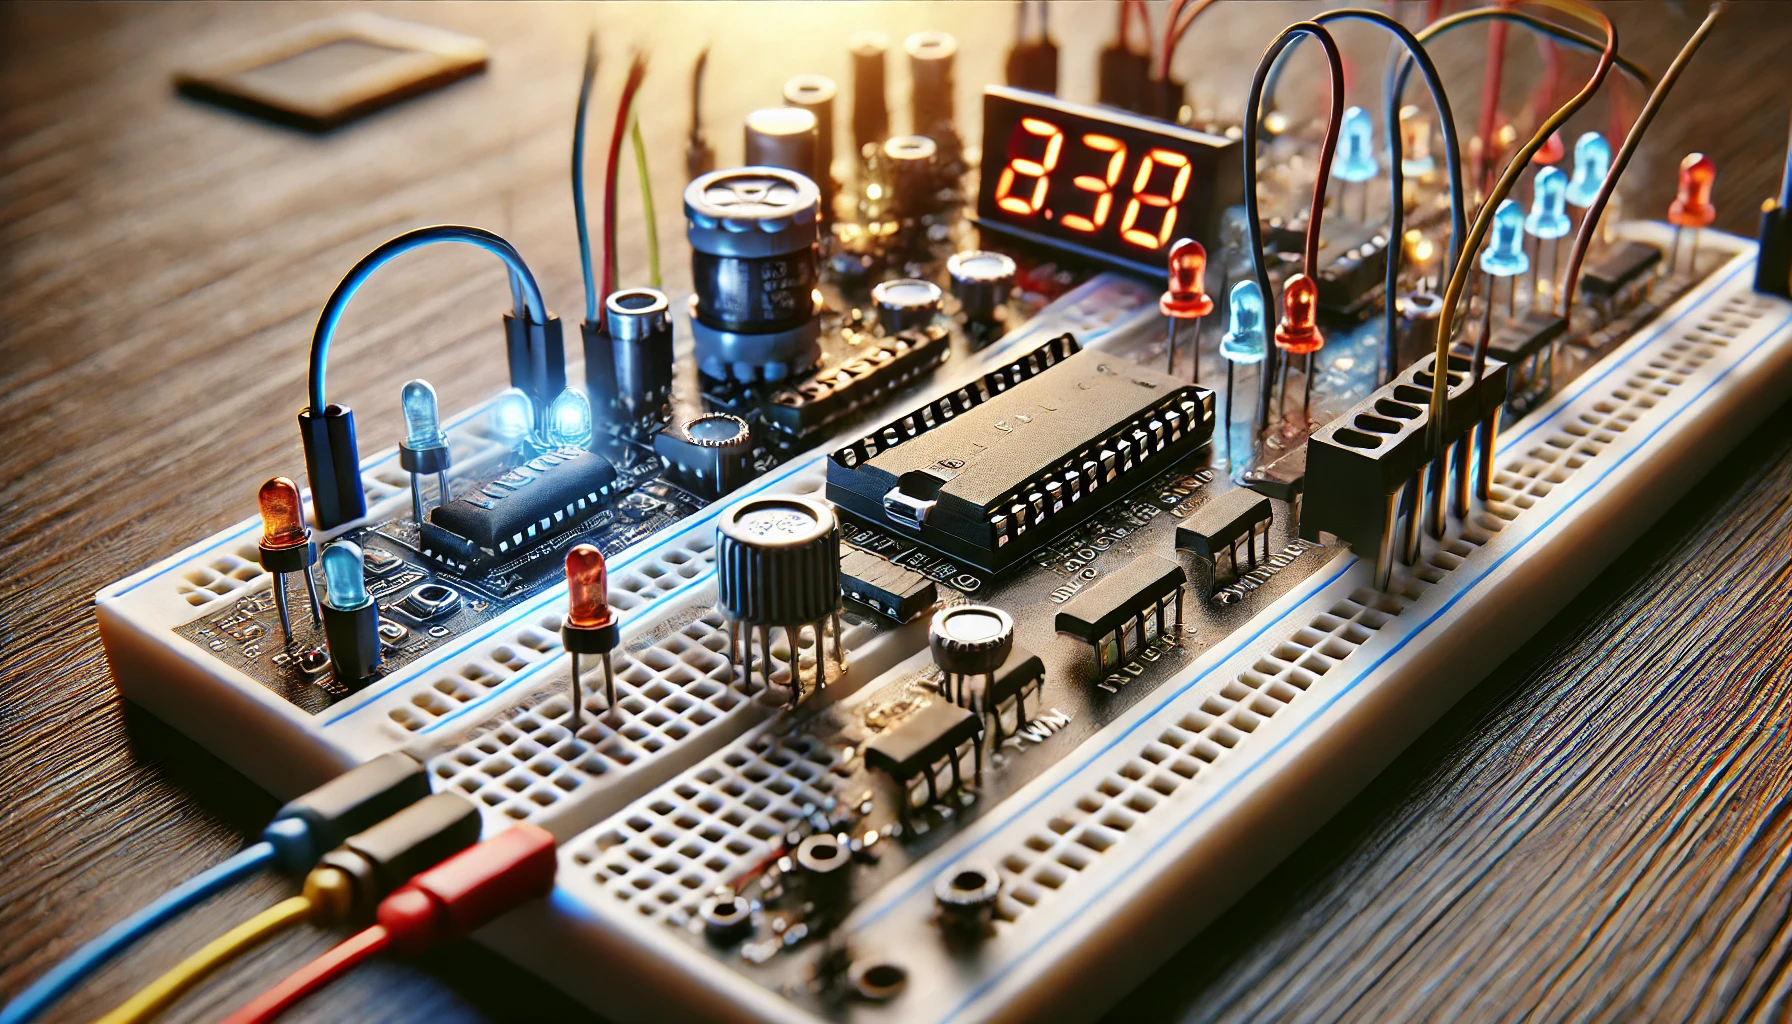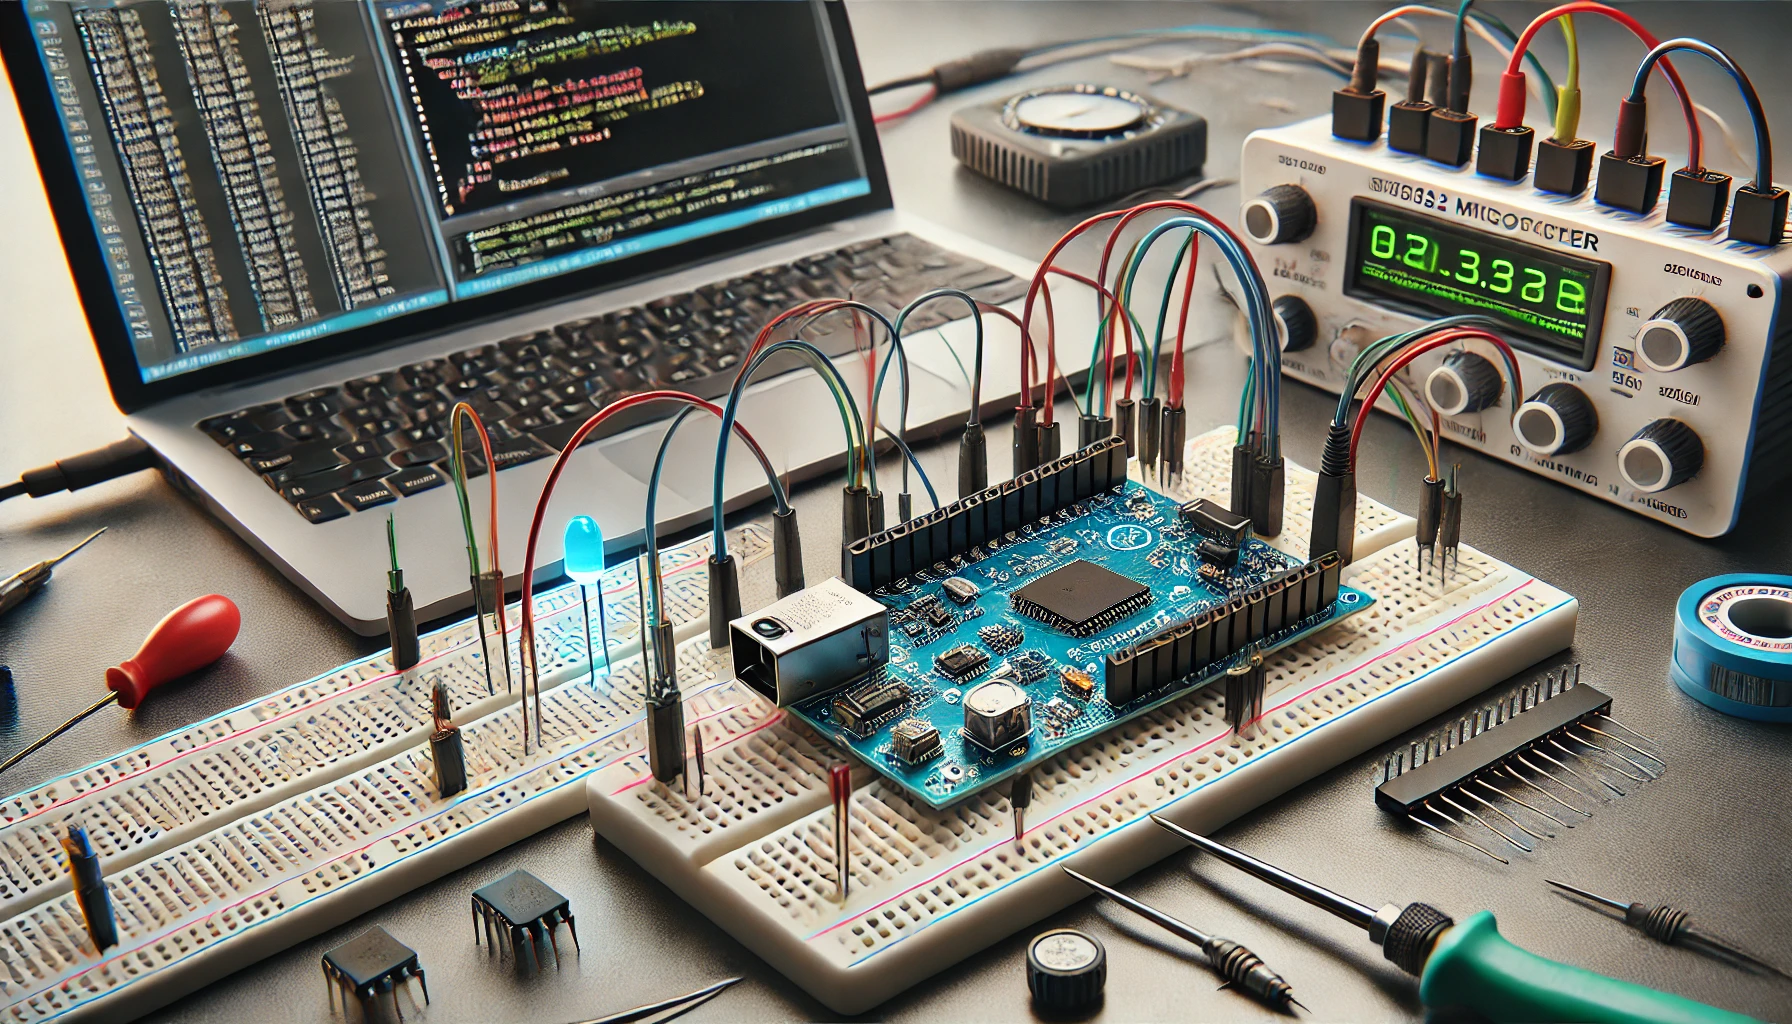
Getting Started with STM32 Microcontrollers A Complete Guide for Beginners , STM32 microcontrollers, based on the ARM Cortex architecture, are among the most popular platforms for embedded systems development due to their high performance, versatility, and affordability. Whether you’re an enthusiast, a student, or a professional, understanding how to set up and program these microcontrollers is a foundational skill. This guide walks you through installing development tools like STM32CubeIDE and writing your first program.
1. Understanding STM32 Microcontrollers
STM32 microcontrollers are manufactured by STMicroelectronics and are categorized based on performance and features:
- STM32F series: General-purpose microcontrollers.
- STM32H series: High-performance applications.
- STM32L series: Low-power applications.
These microcontrollers support a wide range of peripherals, including timers, communication interfaces, and ADCs, making them ideal for diverse projects.
2. Tools and Development Environment
To get started, you’ll need to set up a development environment. The most common tools include:
- STM32CubeIDE: A comprehensive IDE that integrates code editing, compilation, and debugging.
- STM32CubeMX: A configuration tool for initializing peripherals and generating boilerplate code.
Required Hardware:
- An STM32 development board (e.g., Nucleo or Discovery series).
- USB cable for programming and power supply.
- Debugging tools, if not integrated into the board.
3. Installing STM32CubeIDE
STM32CubeIDE is an all-in-one development environment that simplifies coding, debugging, and flashing.
Steps to Install:
- Download the Software: Visit the official STMicroelectronics STM32CubeIDE page and download the appropriate version for your operating system.
- Installation:
- Run the installer.
- Follow the on-screen instructions to install the IDE.
- Launch the IDE: Open STM32CubeIDE and configure your workspace directory.
4. Setting Up STM32CubeMX for Peripheral Configuration
STM32CubeMX is integrated into STM32CubeIDE, allowing seamless peripheral configuration:
- Open STM32CubeIDE and create a new project.
- Select your microcontroller or development board.
- Use the graphical interface to:
- Enable peripherals (e.g., GPIOs, UART, ADC).
- Configure clock settings.
- Generate the initialization code and import it into your project.
5. Writing Your First Program
Now that your environment is ready, let’s write a simple program to blink an LED.
Steps:
- Create a New Project:
- File → New → STM32 Project.
- Select your microcontroller or development board.
- Configure the LED Pin:
- Enable the GPIO pin connected to the on-board LED (usually labeled on the board).
- Set it as an output in STM32CubeMX.
- Write Code:
- In
main.c, toggle the GPIO pin in a loop:
HAL_GPIO_TogglePin(GPIOx, GPIO_PIN_y);
HAL_Delay(500);  // Delay of 500ms
Replace GPIOx and GPIO_PIN_y with the appropriate pin identifiers for your board.
- Compile and Flash:
- Build the project (shortcut: Ctrl+B).
- Connect your development board to your computer.
- Use the Debug/Run option to flash the code onto the microcontroller.
6. Debugging the Code
STM32CubeIDE provides an inbuilt debugging interface:
- Use breakpoints to pause execution at specific lines.
- Monitor variables and memory to ensure the program runs as expected.
- Step through the code to identify issues.
7. Expanding Beyond the Basics
Once you’ve mastered the basics, consider exploring advanced topics:
- Real-Time Operating Systems (RTOS): Use FreeRTOS for multitasking.
- Communication Protocols: Implement UART, SPI, I2C, or CAN communication.
- Sensors and Actuators: Interface with sensors like accelerometers and output devices like motors.
- Low-Power Modes: Optimize your microcontroller for energy efficiency.
Tips for Success
- Documentation: Familiarize yourself with the STM32 reference manuals and datasheets.
- Community Support: Engage with forums like ST Community for troubleshooting.
- Practice Regularly: Build diverse projects to reinforce your skills.
Conclusion
Getting started with STM32 microcontrollers involves setting up the right tools and understanding the platform’s basics. By using STM32CubeIDE and CubeMX, you can streamline your development process and focus on creating innovative applications. Whether you’re blinking an LED or building a complex IoT system, STM32 offers a robust foundation for your projects.
Getting Started with STM32 Microcontrollers A Complete Guide for Beginners


Comments (0)