What is a Relay How it Works and How to Connect a Lamp to a Relay , Relays play a crucial role in electronics and electrical projects, acting as an intermediary to control high-power devices using low-power signals. This article will delve into what a relay is, how it works, and provide a step-by-step guide on connecting a lamp to a relay.
Understanding What a Relay Is
A relay is essentially an electrically operated switch. Unlike a standard mechanical switch that requires physical movement to toggle, a relay uses an electromagnetic coil to enable or disable circuits electronically. This functionality makes relays ideal for applications where the control circuit must remain isolated from the high-power circuit it manages, enhancing safety and flexibility in design.
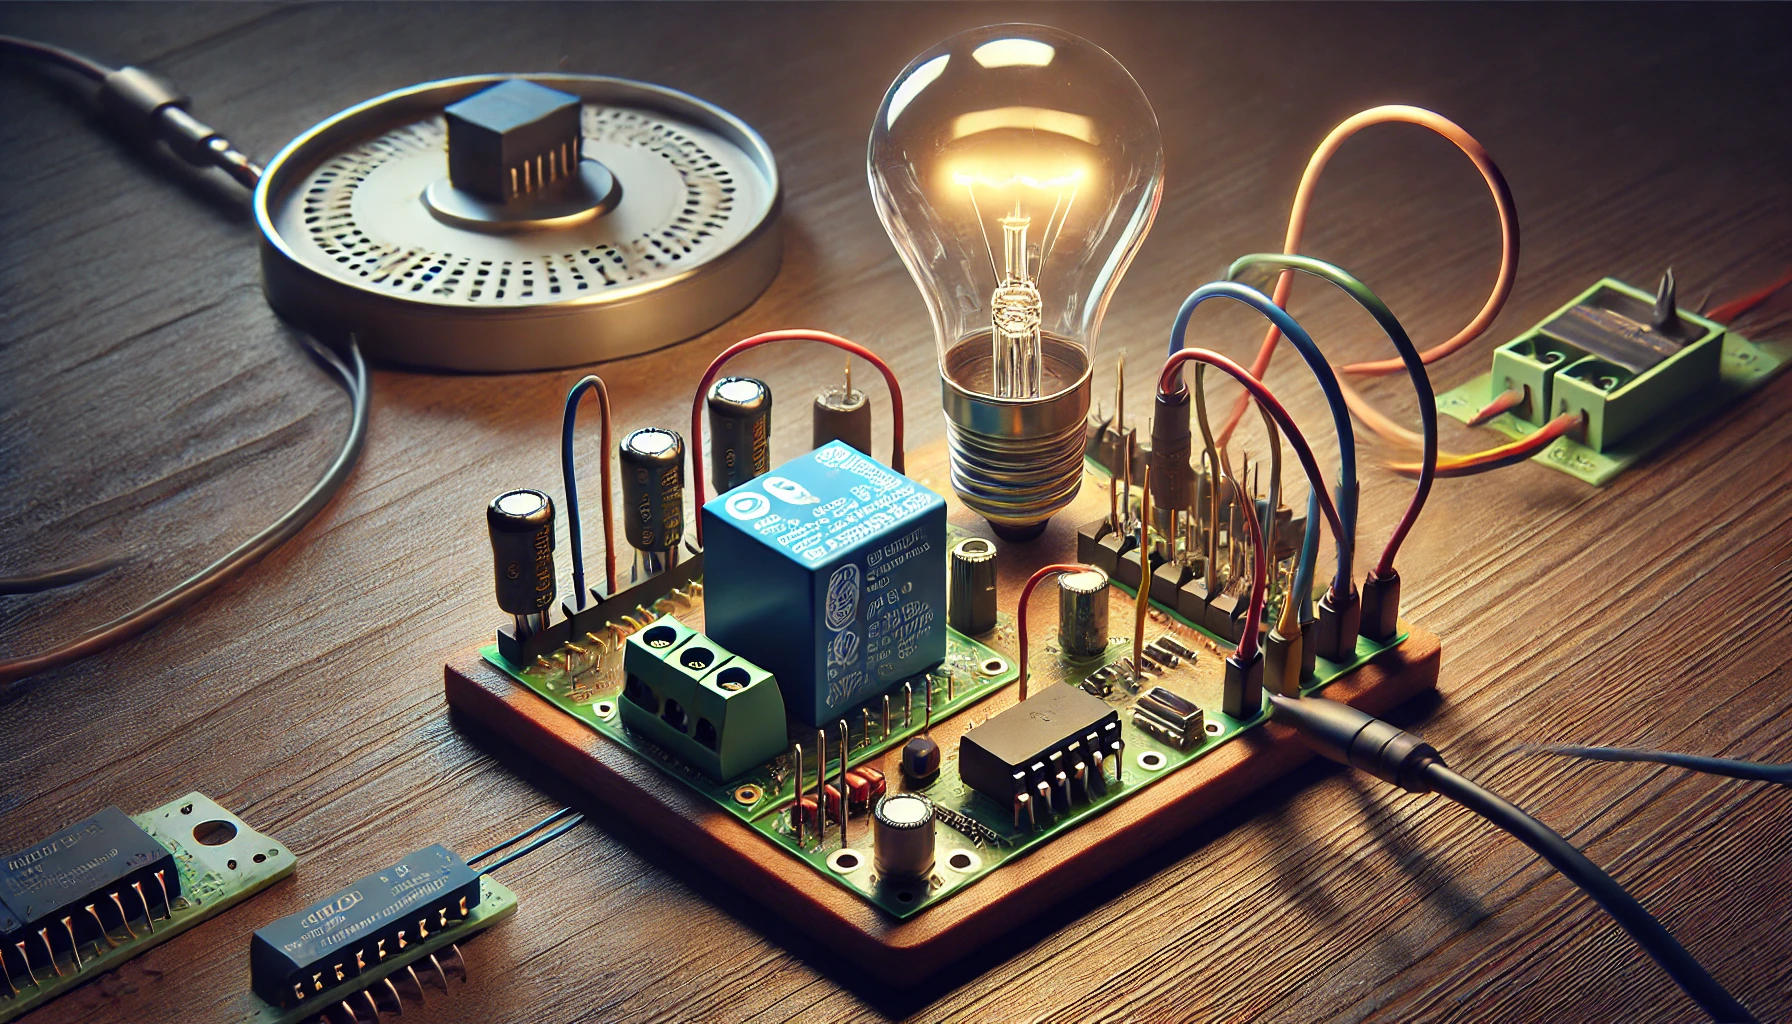
Consider a scenario where you want to control a high-wattage lamp from a microcontroller or another low-power device. Directly wiring the lamp would overwhelm the controller due to its low current capacity. A relay bridges this gap, allowing the low-power device to control the high-power load, such as the lamp, without direct physical contact or risk.
How Does a Relay Work?
A relay operates by using a small electric current to control a much larger one, achieved through a combination of internal components that include:
- Coil of Wire: The core component, generating a magnetic field when a small voltage is applied. This magnetic field pulls a metal armature, which toggles between two contact positions.
- Contacts: These are connected to external circuits. The most common configurations are:
- Normally Open (NO): The default state where the circuit remains open until the relay is activated.
- Normally Closed (NC): The default state where the circuit remains closed until the relay is activated.
- Common (COM): A terminal that switches between NO and NC depending on the relay’s state.
- Spring Mechanism: Ensures the contact returns to its default position (usually NC) when the coil deactivates.
How Relays Operate in Different Configurations
Relays are available in various types with different contact configurations. A typical relay may operate at voltages like 5V, 12V, or even 24V, specified on the device or in its datasheet. This flexibility allows for customization based on project requirements.
- When the relay coil is powered, it generates an electromagnetic field.
- This field attracts the metal armature, switching the connection from the NC terminal to the NO terminal.
- When the power is removed, the spring mechanism pulls the armature back to its default position, reconnecting to the NC terminal.
By toggling between these states, a relay effectively acts as an electronic switch, suitable for controlling devices such as lamps, motors, or other high-power components from low-power control circuits.
Practical Example: Connecting a Lamp to a Relay
To connect a lamp to a relay, the setup must be carefully planned to handle the different voltage and current levels in the control circuit and the lamp circuit.
Materials Required:
- Relay (12V, 5-pin relay recommended)
- Transistor (e.g., NPN transistor)
- Diode (Flyback diode for protection)
- Resistor (e.g., 220Ω for transistor base)
- Lamp (e.g., 220V AC lamp)
- Microcontroller or 12V DC source
Steps to Connect a Lamp to a Relay:
- Relay Setup with a Transistor: Microcontrollers cannot directly power relays, as relays require higher current than microcontrollers can safely supply. Use an NPN transistor to act as a switch between the relay and microcontroller. Connect the transistor’s collector to one side of the relay coil, and the emitter to ground (GND).
- Connecting the Control Signal: Connect the microcontroller’s digital output to the base of the transistor through a 220Ω resistor. This setup ensures the transistor activates when the microcontroller sends a high signal, allowing current to pass through the relay coil.
- Power the Relay Coil: Connect one side of the relay coil to a 12V power source and the other side to the transistor’s collector.
- Add a Flyback Diode: Place a diode (e.g., 1N4007) across the relay coil with the cathode on the positive side. This diode prevents potential damage to the transistor by blocking the reverse voltage spike when the relay coil deactivates.
- Connecting the Lamp: For this example, use the common terminal (COM) and the normally open (NO) terminal of the relay. Connect one wire of the 220V lamp to the COM terminal and the other to the NO terminal. Connect the other end of the NO terminal to your power source.
- Test the Setup: When the microcontroller or control device sends a high signal, it will trigger the transistor, allowing current to flow through the relay coil. This current creates a magnetic field, pulling the COM contact to the NO terminal and closing the circuit. The lamp should turn on as the circuit completes.
Safety Precautions and Considerations
- High Voltage: Relays often manage circuits with high voltage and current. Ensure proper insulation and caution when handling AC components.
- Component Ratings: Always check the relay, transistor, and other components’ voltage and current ratings to avoid damage.
- Flyback Diode: Never omit the flyback diode, as the reverse voltage can damage both the transistor and microcontroller if left unprotected.
Conclusion
Relays are versatile and critical components in electronic circuits, enabling safe control over high-power devices using low-power control signals. This guide introduced you to relays, their working principles, and a practical method for connecting a lamp to a relay. With this foundation, you can incorporate relays into various projects, from home automation systems to complex industrial controls, securely handling power differences and ensuring the safety and longevity of your circuits.
What is a Relay How it Works and How to Connect a Lamp to a Relay

Video link What is a Relay, How it Works, and How to Connect a Lamp to a Relay


Comments (0)